Showing posts with label Rear Wings. Show all posts

Monday, 4 January 2016

Build Day 34- LHR Wing Protector

Day 34- LHR Wing Protector  


Left Hand Rear Wing Protector 


This evening we have repeated the method as in day 33, so here are some pics but for the other side.


Sticking trim to back of protector, which was later removed before riveting.


The trim was cut in line with the edge of the protector.


Drilling holes through the rubber trim.


We had the wing trim over the protector but inside the protector trim.

To finish we just cleaned the underside of the wing of dust and bits of fibreglass.

Tuesday, 29 December 2015

Build Day 33- RHR Wing Protector

Day 33- RHR Wing Protector  


Right Hand Rear Wing Protector 


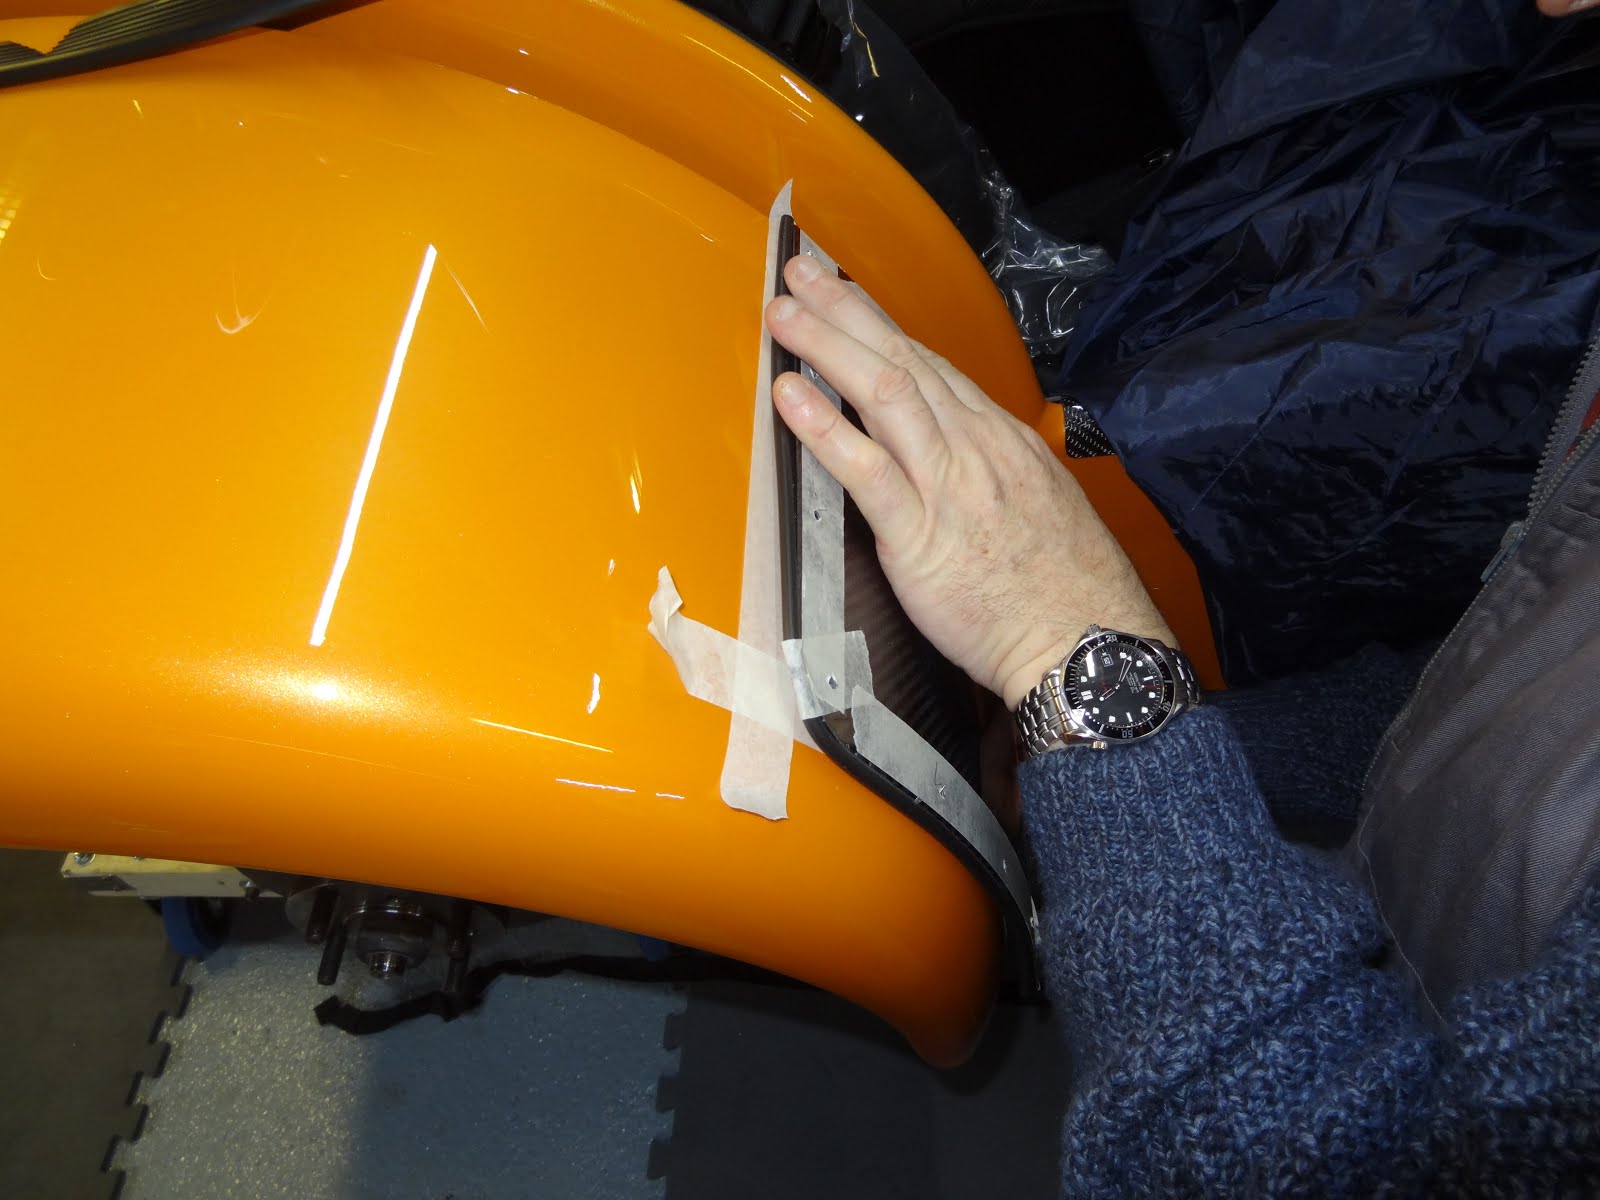
We first realised that it would be easier to slacken the wing bolts and remove the trim and watts link arms, in order to get the correct alignment, not drill into the arm, and then to be able to run the wing trim over the protector. We then continued by cutting the trim to length, cutting slits into the trim then taping it to the back of the protector. Then this was offered up to the wing with the bottom edge and the top and bottom inside edges against the inside edge of the wing. 

Then the holes were marked with a pencil through the holes, which had been pre-drilled and holes drilled through the trim. Then holes were drilled into the wing, initially with a 2mm then a 4mm drill. Finally the protector was aligned with the original holes and then it was riveted into place.

To finish the wing and watts link arms were reattached, making sure the trim smoothly ran along the inside of the wing and over the wing protector.


Cutting the trim to length requires plenty of cuts in order to get round the tight corners.

Tape marks the place were the holes are to be drilled, then the holes through the carbon fibre when it is in place.

Holes drilled at right angles to the body in order to retain tension when riveting.

All holes drilled, a little bit of fibreglass has however forced paint to bubble, good thing they'll be covered.

Watts link un-bolted front and back in order to slacken the wing, meaning that the drill does not damage the paint to the side of the wing.

Protector on. The sliver of orange down the inside of the wing is caused my the mismatched shapes of the wing and carbon fibre. This disappears as soon as the wing is tightened again.


Sunday, 22 November 2015

Build Day 24- Left Rear Wing

Day 24- Left Rear Wing


Another lovely day to be working in the garage...

Left Rear Wing

We started the evening the same way as we started fitting the right wing, that was, until when loosely fitting the wing we discovered that the forward most rivnut was turning in the chassis. Therefore we had to remove all of the bolts in so far and then try and remove the bolt from the rivnut in order to see what we could do.

Making room for getting the bolt off.
Dad then used a drill bit to hammer a notch into the lip of the rivnut in order to be able to stop it from rotating while I remove the bolt.

Trying to stop the rotation.
This method ended up being successfull meaning we could carry on with the original procedure but with the added complication of the front bolt being slightly harder to tighten after. In the end the front bolt went in, possibly not as tight as we'd like, but it was in.

Finally on.


Saturday, 21 November 2015

Build Day 23- Tunnel Plate and Right Rear Wing

Day 23- Tunnel Cover and Right Rear Wing


Tunnel Cover

First we ran a bead of silicone along the top of the tunnel tubes, then aligned all of the rivets and proceeded to pull all the rivets from rear to front.

Absolutely freezing!!! 2 jumpers, boiler suit, jacket, and hat much needed.
Someone's little joke on dad.

We then put a bead around the edges to seal the holes and neaten it up.

Rear Wing

In order to get the wing on the car the link arms had to be removed, which we decided to do instead of cutting the large slot out of the wing. Then we loosely attached the right wing, then cut a piece of trimming roughly to length and started trimming it to fit. Firstly we punched a hole in the end for the bottom rear hole. Then while pulling tight we marked and cut slots for the bolts to pass through, and then large slots to remove slack in the rubber.

First hole. Metal punch set used a few times so far, pretty useful in this.

Small "V" for small bolts, Square for the Link arm mounts, and deep "V" cuts to allow it to pass around a smaller radius.

Finished Trim.

Before tightening the wing we had to re-fit the link arms as the play in the wing is required to allow the radius arms to swing back into place. It was at this point that we realised that the holes in the rear wing for the link arm bolts to pass through weren't quite in the exact place for the washers to not foul. To fix this we took the arms back off and removed the front bolts, which gave enough movement to be able to get the Dremel in to widen the hole. 

Widening the hole.

Now there is enough clearance for the washers to fit in the hole and not have the wing ride on top. Plus no need to cut a large slot in the wing.

To finish we started with the bottom rear bolt, so while one of us pulled the trim taught and held the wing in, while the other tightened the bolts, continuing round the wing. 

Action shot to prove it is us building the car and not pros. We are getting good at sleep building though.

Finished trim.