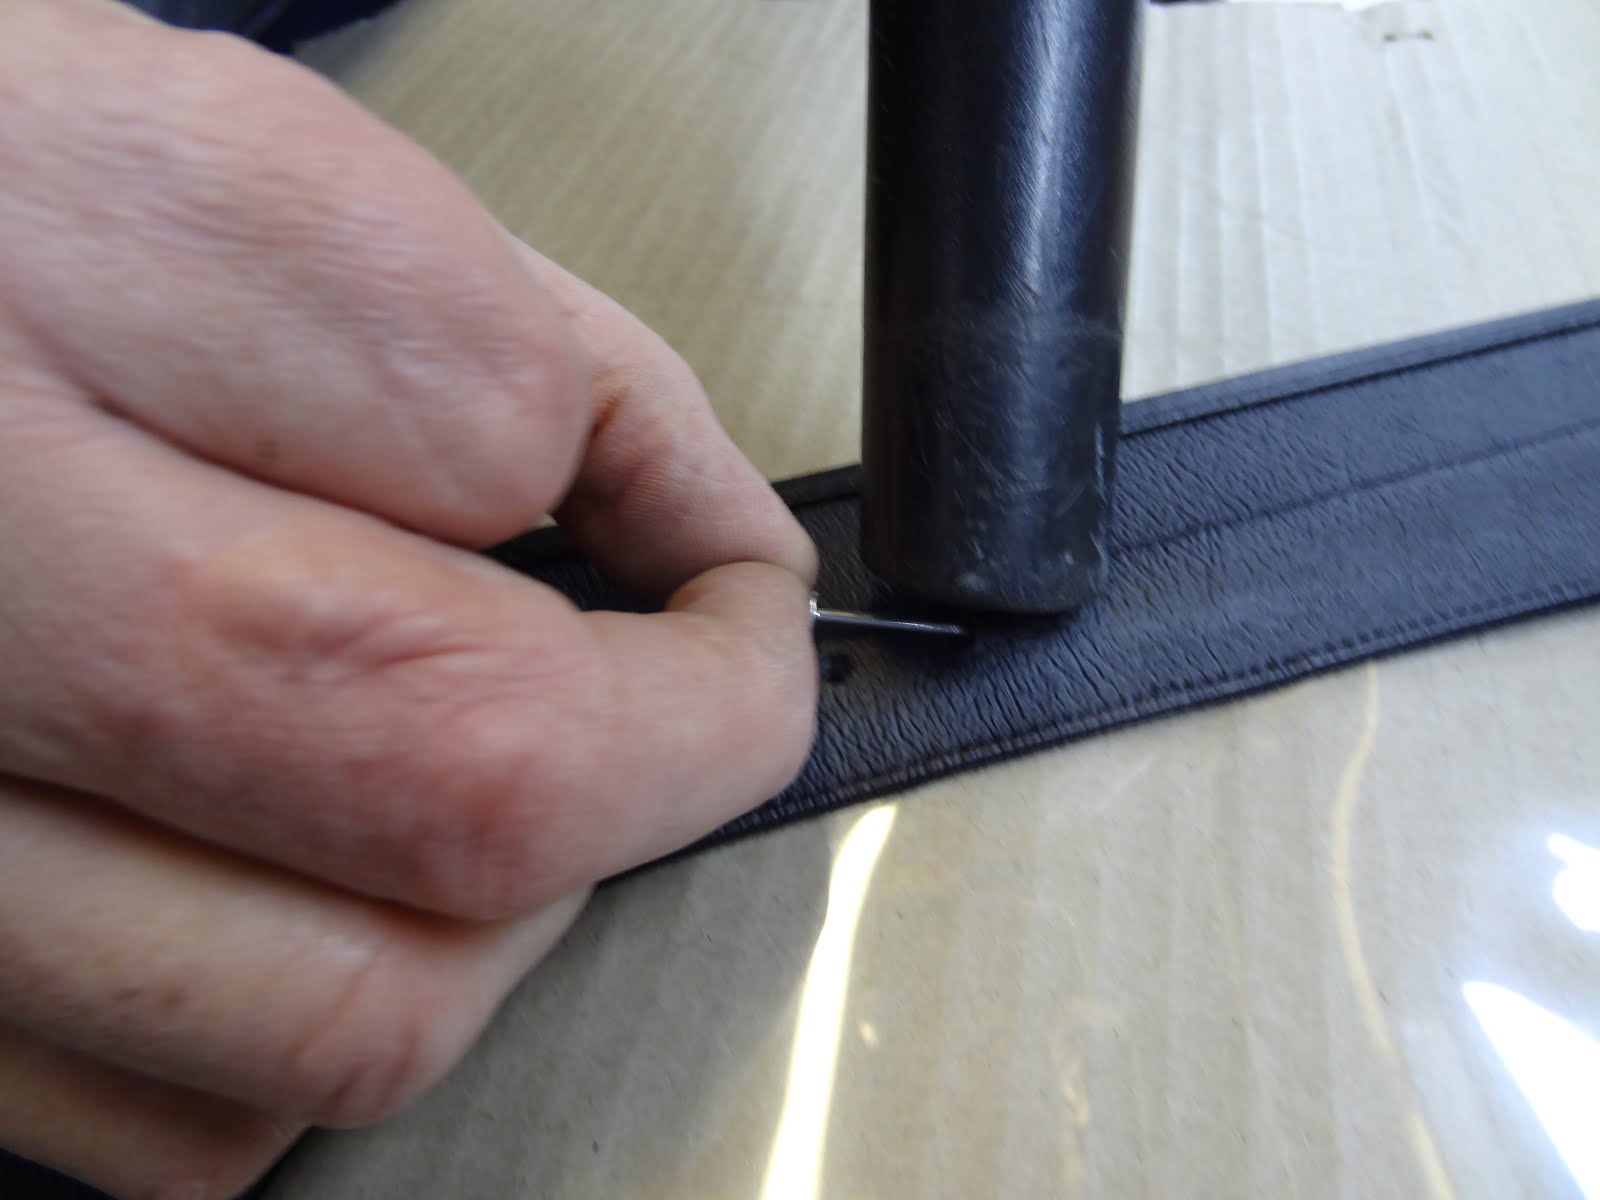
The first job was to re-stick the rear bulkhead carpet as most of it had come away so it needed re-spraying with contact adhesive.
Wing Mirrors
The next job was to attach the standard mirrors to the side screens as the IVA ones, despite being more likely to reduce vibration, don't allow the side screens to be opened more than 90 degrees. I may change them back at some point just to try the car without side screens but not on a regular basis. They went on quite easily as the holes are pre-drilled so only the vinyl needs drilling through. At a later date we will try and replace the bolts with black ones as the current ones are quite noticeable.
 |
| Used the same domed nuts as the hinges. |
 |
| We then quickly drilled then riveted the side screen popper. |
Four To Six Point Conversion
The following day we started by putting the car on the new set of axle stands, which increased the space under the car to over 400mm, we set about fitting the new set of crutch straps for the car. We bought these directly from Corbeau (Corbeau own LUKE harnesses and supply Caterham) at the International Motorsport Show in Birmingham this year, just remember that if you are thinking of doing the same upgrade to call and opt for the Caterham style mounting brackets, otherwise you will be supplied with the snap hook style.
 |
| These now make it incredibly easy for me to work and drill under the car, and have made it possible for dad. |
First a mark is punched into the lowered floor, done through the mounting bracket. A 5mm drill was then used to make an initial hole, then the remaining material was removed using a cone drill bit from underneath.
 |
| Cone Drill Bit with tape to get the correct sized hole. |
Most of the parts for the fitment have been supplied by Corbeau, except the large penny washers we wanted under the head and the aluminium spacer bushes, which were supplied with the Caterham, intentionally or not we do not know. We still do not know where the card washers are used as both the Caterham manual and the LUKE instructions to not mention them.
 |
| Still no idea about the cardboard washers. |
To fit we passed the bolt through the penny washer, then the seat pan, then the "top hat bush", then the crinkle washer, then through the harness, then the spacer bush, then the bracket, then finally through the spacer and topped with the nyloc and tightened. Also ensure the front edge of the harness bracket angles down.
 |
| Fully lengthened strap. |
After plenty of fiddling I have found that the length of the crutch strap, with with the seat in, comes roughly three inches past the chassis tube passing horizontally through the bottom of the seat pan. (I am 6' 1" and have the seat 2 or 3 notches from the back and find this comfortable to drive with).
 |
| Adjust the buckle length before fitting seat as it is very difficult after. Or at least have it shorter than expected then lengthen, as this is a lot easier to change than shortening. |
To fit the seat we have slipped the seat, without the cushion, through the middle of the crutch strap. This allows the two points to come around the seat back, then over the cushion, then the strap is sat on, then comes up through the legs to connect (the opposite way to the rest) to the harness buckle.
 |
| Finished result is very comfortable and later on makes for a much safer feeling drive. Or at least it does for us, and definitely for me as I have the lap straps as tight as they go and the crutch strap stops the shoulder straps from pulling the buckle too high. |
Handbrake Handle
As a Christmas present I was given a carbon handbrake handle cover from dad, so now we have decided to fit it just in case there was a possible quibble with the IVA. This job seemed easier than it turned out to be, as there were welds under the handle that caused it to be too large for the new handle. This was filed off, then the new handle was slid on and held in place with the grub screws in the underside of the handle.
 |
| Really finishes the tunnel off nicely compared to the old ford stock plastic handle cover. |