Showing posts with label Sill Protectors. Show all posts

Saturday, 5 December 2015

Build Day 27- Sill Protectors, Fusebox Cover, Interior Carpets, and Harnesses.

Day 27- Sill Protectors, Fusebox Cover, Interior Carpets, and Harnesses.


To start we continued to finish fitting the sill protectors, but, in addition to the steps previously taken we applied some silicone sealant under the sill to stop squeaking when any force is applied causing movement. (We have however, a few weeks later, that the RH sill has settled and has stopped making a sound whenever pressure is applied, which would have driven us insane every time we got into the car.)  


Fusebox Cover


This took a lot longer than expected due to it being oddly confusing as to how the panel fits in relation to the fuse box. However eventually after a small strip of Velcro and a couple strips of IVA trim to stop vibration noise it was eventually in.


Small strip of Velcro along front edge. I believe this is an IVA requirement (according to the build manual). 


Small length glued in place.


Tidied the 12V Socket wiring, the smaller plug is not used.


Interior Carpets


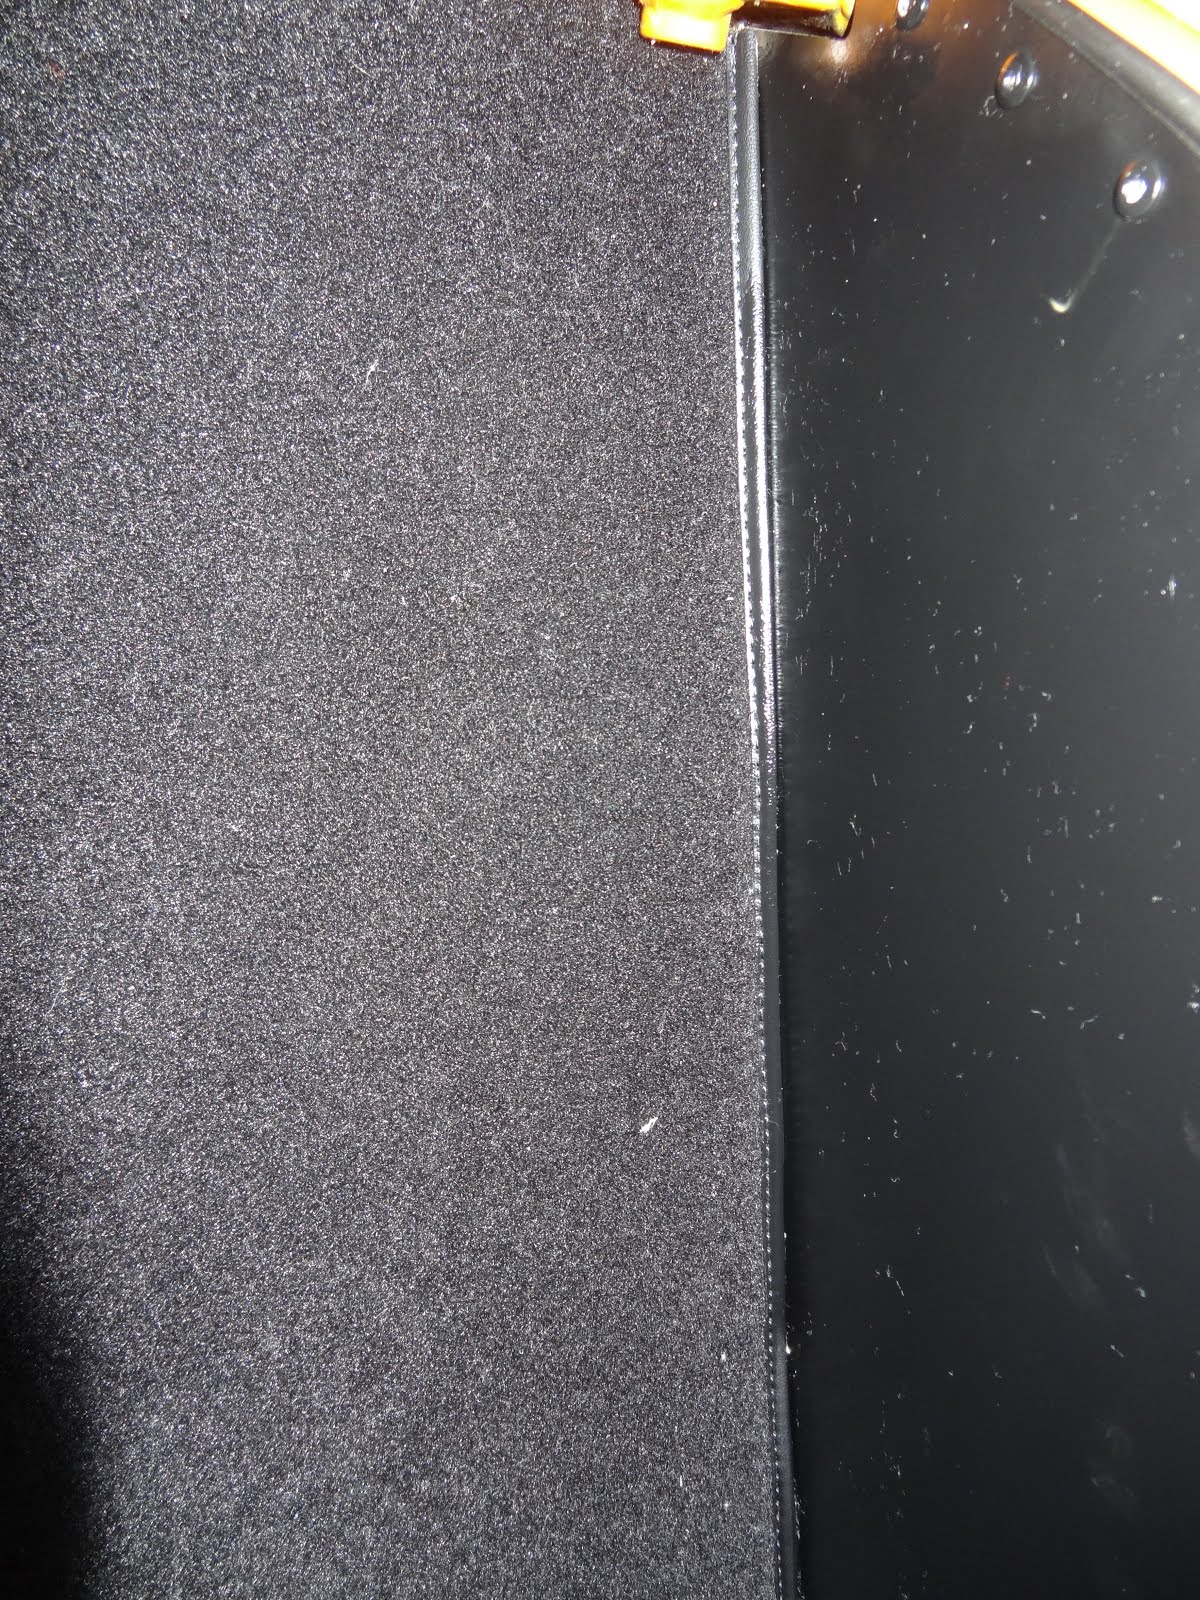
This got a little messy as the spray adhesive is hard to control. After warming the can in-front of the fan heater we started with the rear bulkhead carpet, then the tunnel carpet, then fitted a couple of the boot carpet pieces, (namely the forward triangle pieces, and the rear rectangle piece). We found that excess came off fairly easily with a little WD-40 on a rag, and that the solvent designed for the adhesive worked a tad too well and started removing paint.


A bit of a stringy mess. 

It was at the point of completion that we realised that the bulkhead carpet only had trim on the LHS and not the other, so we will email Caterham to see what the best remedy is to the situation. (In the end they decided that they would remove the carpet and glue at the post build inspection and then replace it with the correct one.) 


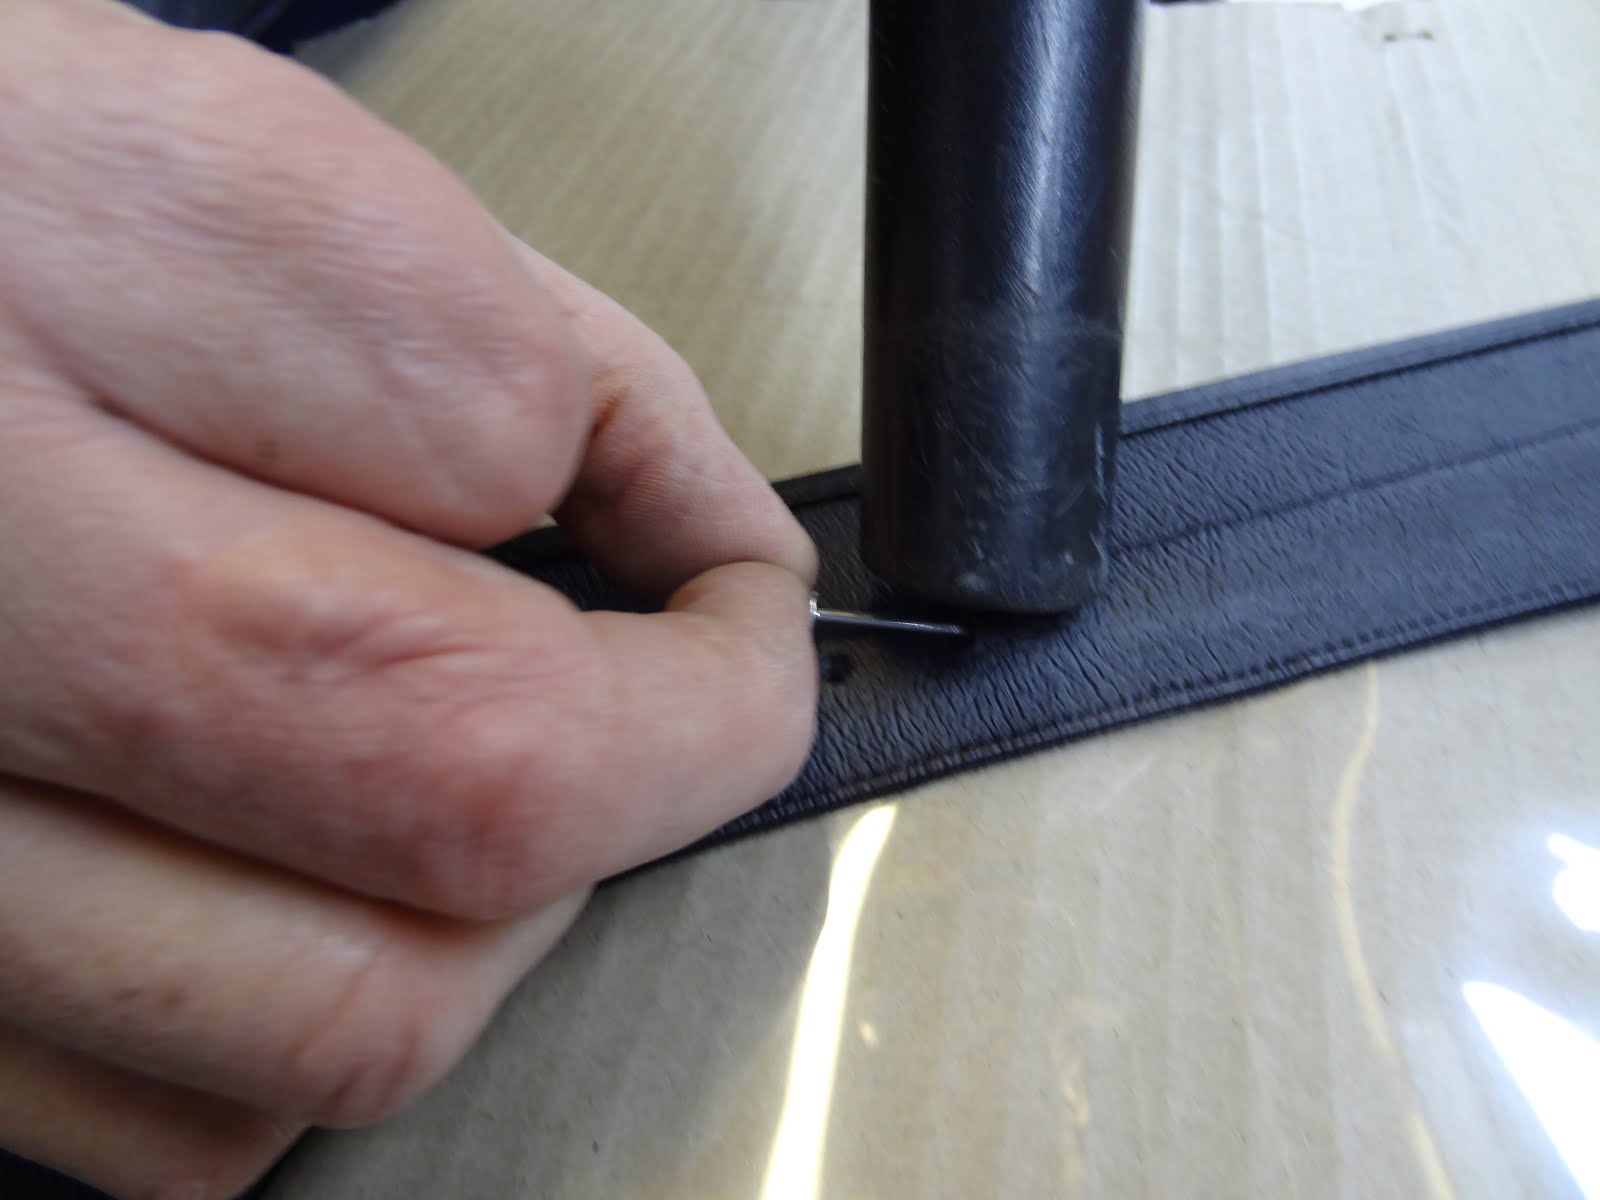
After the carpets were in we cut the Harness bolt holes into the vinyl strip along the chassis tube under the roll-over bar.


A small Stanley knife worked a treat.

We decided that if we ever needed to remove or replace the rear wings it would be much simpler if we attached the corner carpets with Velcro instead of with the impact adhesive.


Harnesses 


This was done for aesthetic reasons more than anything as we knew we would have to remove then later anyway for the boot cover fitment. We quickly found that the bolts were too long to screw in under the roll-over bar due to lack of clearance, and even using the either set of bolts, as there to two varying length of bolt in the Luke boxes. In order to fit them we had to cut roughly 10mm of the end of the bolt for it to fit. 

Later turned out that Caterham suggest fitting the harnesses before the roll-over bar, and thus technically before the rear suspension, and along with the boot cover and interior trim. 

Also now we have done the post build inspection (22-01-2016) it turns out that they didn't agree with our arrangement as they have spent a 1/2 hour changing the bolts!?!?!

We felt that the fitment of the harnesses would be better if we substituted the cardboard washers with rubber ones as we feel that the card ones would degrade quickly in wet weather. Also we don't see much point in the metal rings, that we can only presume are for inserting into the boot cover, but would be crushed under the bolt head. Also in order to reduce the amount the vinyl strip creases under the rotation of the bolt we applied silicone grease around the hole. 


Just remember the red buckles attach to the tunnel and the handle points downwards. 


We'll have to see what Caterham thinks of the way we have done this...


Saturday, 28 November 2015

Build Day 25- Side Screens, Knee Trim, and Sill Protectors.

Day 25- Side Screens, Knee Trim, and Sill Protectors.


While I had been away on my oil Tanker Course dad had been fiddling and had managed to wrap our  

Side Screens

First we attached the hinges onto the windscreen using the black bolts, black domed nuts, black washers and some loctite to hold it together. (On this part be careful with the bolts as the heads are very easy to gouge out with allen keys so use minimal hand torquing) Then we put masking tape down the leading edge of the RH side screen, lined the screen up with the hinges and marked the drill holes with a pen. This is tricky as the holes comes very close to the edge of the internal metal frame, when trying to get the back of the screen to align concentrically with the rear wing. 


Aligning the side screen.


Cleaning out the screen.

After drilling the holes we cleaned out the swarf, with a paper clip, from under the vinyl exterior. Finally we gingerly attached the rest of the hinges to the door and fitted it to the car.  

We then intended to move onto the other door, however when we unwrapped the other screen we discovered that it was a scuffed second hand one that had been drilled already. We will have to get Caterham to send us a new one as soon as possible. The second hand one can go onto the pile of things that are going back to Caterham at the post build inspection.

Knee Trim and Sill Protectors

Before any of the interior panels can be riveted the sill protectors and the knee trim panels have to be fitted. We started at the front and worked our way backwards, firstly by inserting the knee panels then marking the holes as the pre drilled ones, as all have discovered, are nowhere near being in the right place.

Panel holes centred and clamped ready for drilling. 

When going to fit the panels we decided to fit them using self tappers instead of rivets so we would later have the opportunity to remove the windscreen if and when we buy an aeroscreen.

Tappers in and rubber trim sandwiched in-between the body and the side panels.

We continued to put the self tapping screws in until they reached adjacent to the scuttle edge, then moved onto fitting the carbon sill protectors. First we ran a length of masking tape along the bottom edge of the deeper side of the protector. Then held it in place with the front edge in line with the rear corner of the scuttle, and marked the holes for drilling. After drilling the holes we did the same with the armrest catch having aligned it with armrest pin. 

Surprisingly tough to drill these little bits of stainless.
Sill in and looking great, thankfully we remembered to fit the rubber trim. To fit the rubber trim we drilled holes through in transit so as to guarantee the tautness of the trim.  


Riveting finished. As we don't have the other screen we can't move on to the other side.

Speed Sensor

While Dad finished the riveting I decided to fit the speed sensor. In order to protect the cable we covered it with heat shrink, then installed it in the bracket. Hopefully it will work properly as others have had trouble with it in the past. 

Shrinking to fit.

Hopefully this is enough gap between the sensor.

Heater Hoses

To finish the evening we had a quick tinker with the layout of the hoses as there are many things that restrict the layout.


The 'J' Hose on the right had to go over the top and pinned thus otherwise the shape would kink thus restricting flow. The submarine T piece has to go upside down due to the long end of the T piece not fitting inside the P-clip, and because the earthing lead not being long enough to actually reach the lug anywhere else. The P clips are just being used in order to remove kinks. This is made worse by the fact that trying to get the T piece any close puts a kink in the hose coming from the heater control valve, no matter how we arrange the hoses.