While dad was at work I decided to fit the rear anti roll bar, as it sounded as though it was either difficult to fit later or wouldn't go at all later on. Firstly the rubber bobbins went on easy enough with some silicone spray and some pulling, then I ignored the instructions about putting the bolts up through the chassis and bolted them down through so as to give an insurance measure in case the nylocs did work loose then the bolts wouldn't just fall out.
Parts required. Nice details on the ali mounts.
Roll bar mounts fitted with bolts tightened down through the chassis.
Electronic gauge doesn't fit on the top so I calibrated one of the smaller torque wrenches.
In the end i couldn't finish the ARB fitment... this was due to the fact that we had not been supplied with the hexagonal spacer nut, which goes between the drop link and the de dion tube.
(Turns out later on that Caterham do not do this anymore as the design has changed, so instead of the two drop link heads facing the same way, they face in opposite directions and bolt directly to the de dion mount and the ARB.)
Propshaft
I then moved on to bolting the propshaft to the diff. Firstly I could only find 4, appropriately sized, cap heads not the bolts pictured. In order to stop the shaft from rotating I used to long screwdriver wrapped in a rag and inserted it through the universal joint. On my own it was only possible to get the screw driver through twice, on opposing sides, so I left the remaining two for when dad got home from work, so he could lock it from the top.
Shaft tied in place to stop scrapes appearing in the paintwork before the diff was installed.
Screwdriver in place, more than enough to torque the bolts.
Hub Nuts
Yesterday we realised that the LH hub nut was too big to fit into the 41mm socket, so I filed down the edges of the nut until it fitted correctly.
Hub nut before.
Nut after.
Handbrake
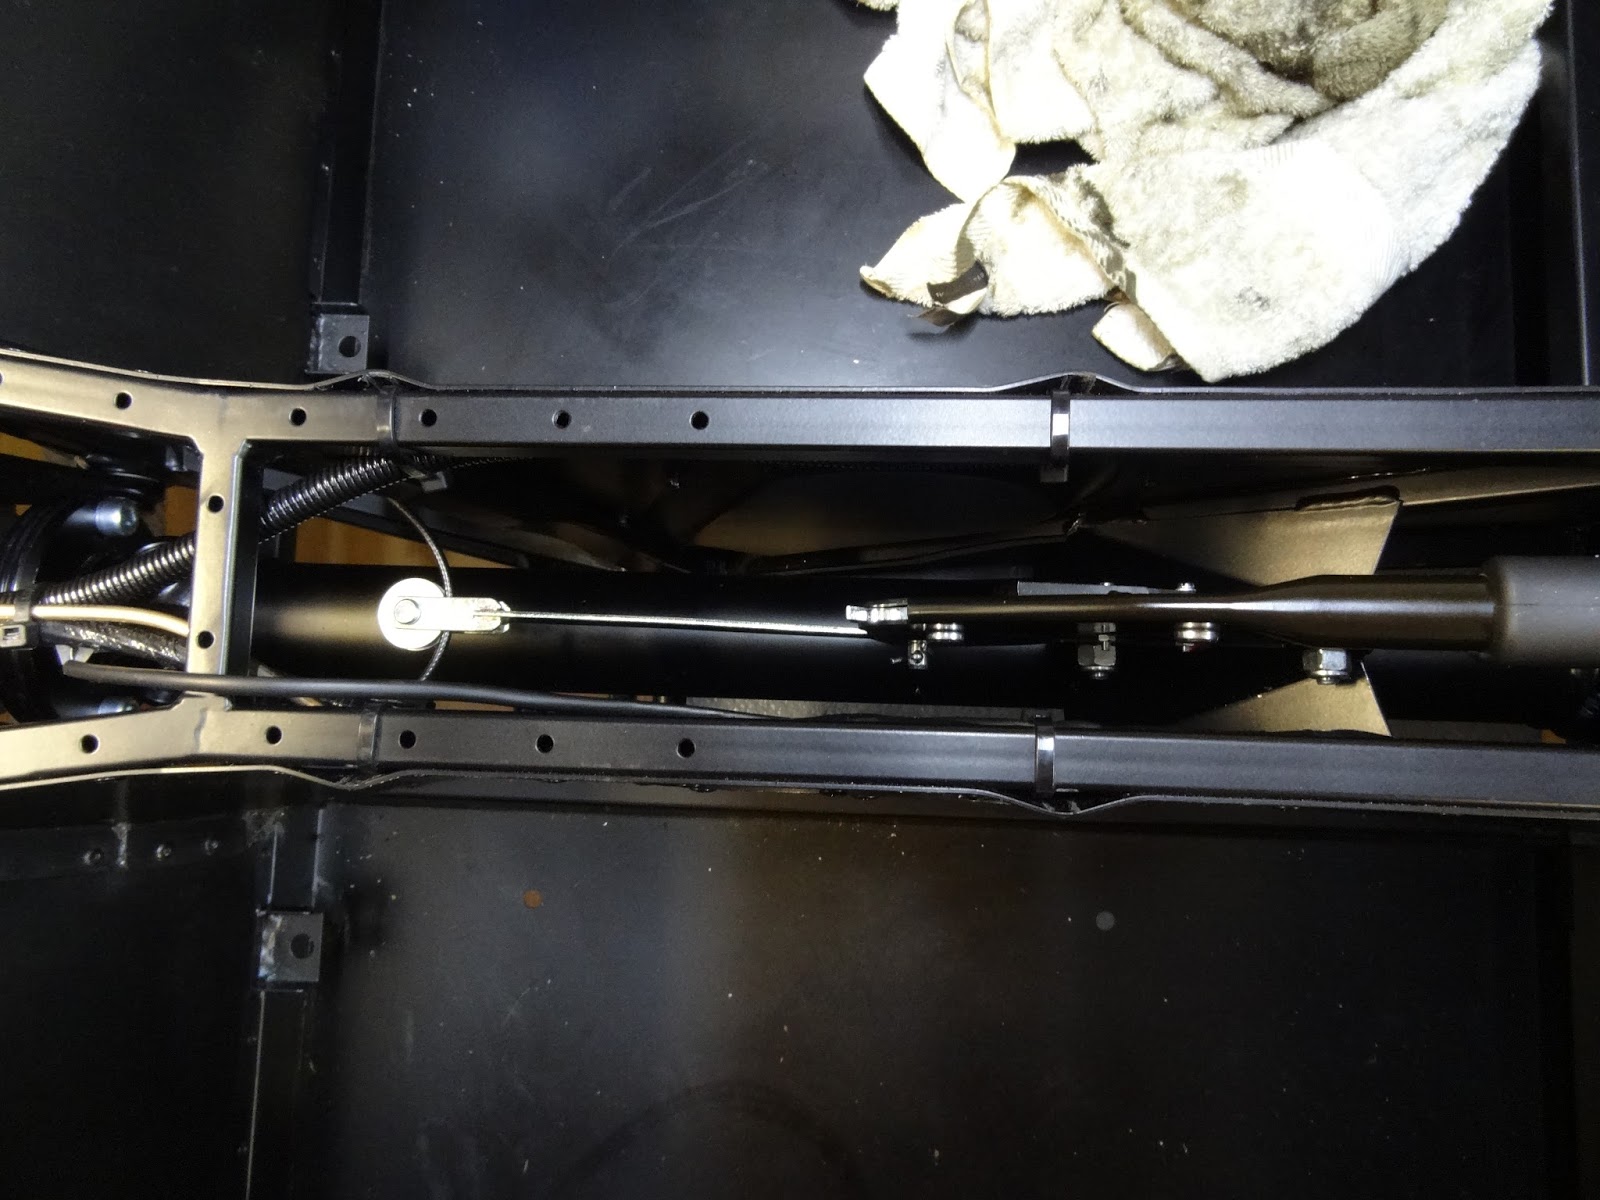
When dad got home we got started together straight away, just to finish some bits and bobs. To start we fitted the handbrake, just a case of slotting it in, then through bolting the bracket. The bolts were a little tricky to get in as the brackets didn't align, but driving them through then tightening them pulled them into alignment.
A slight miss-alignment but went in after a little fiddling.
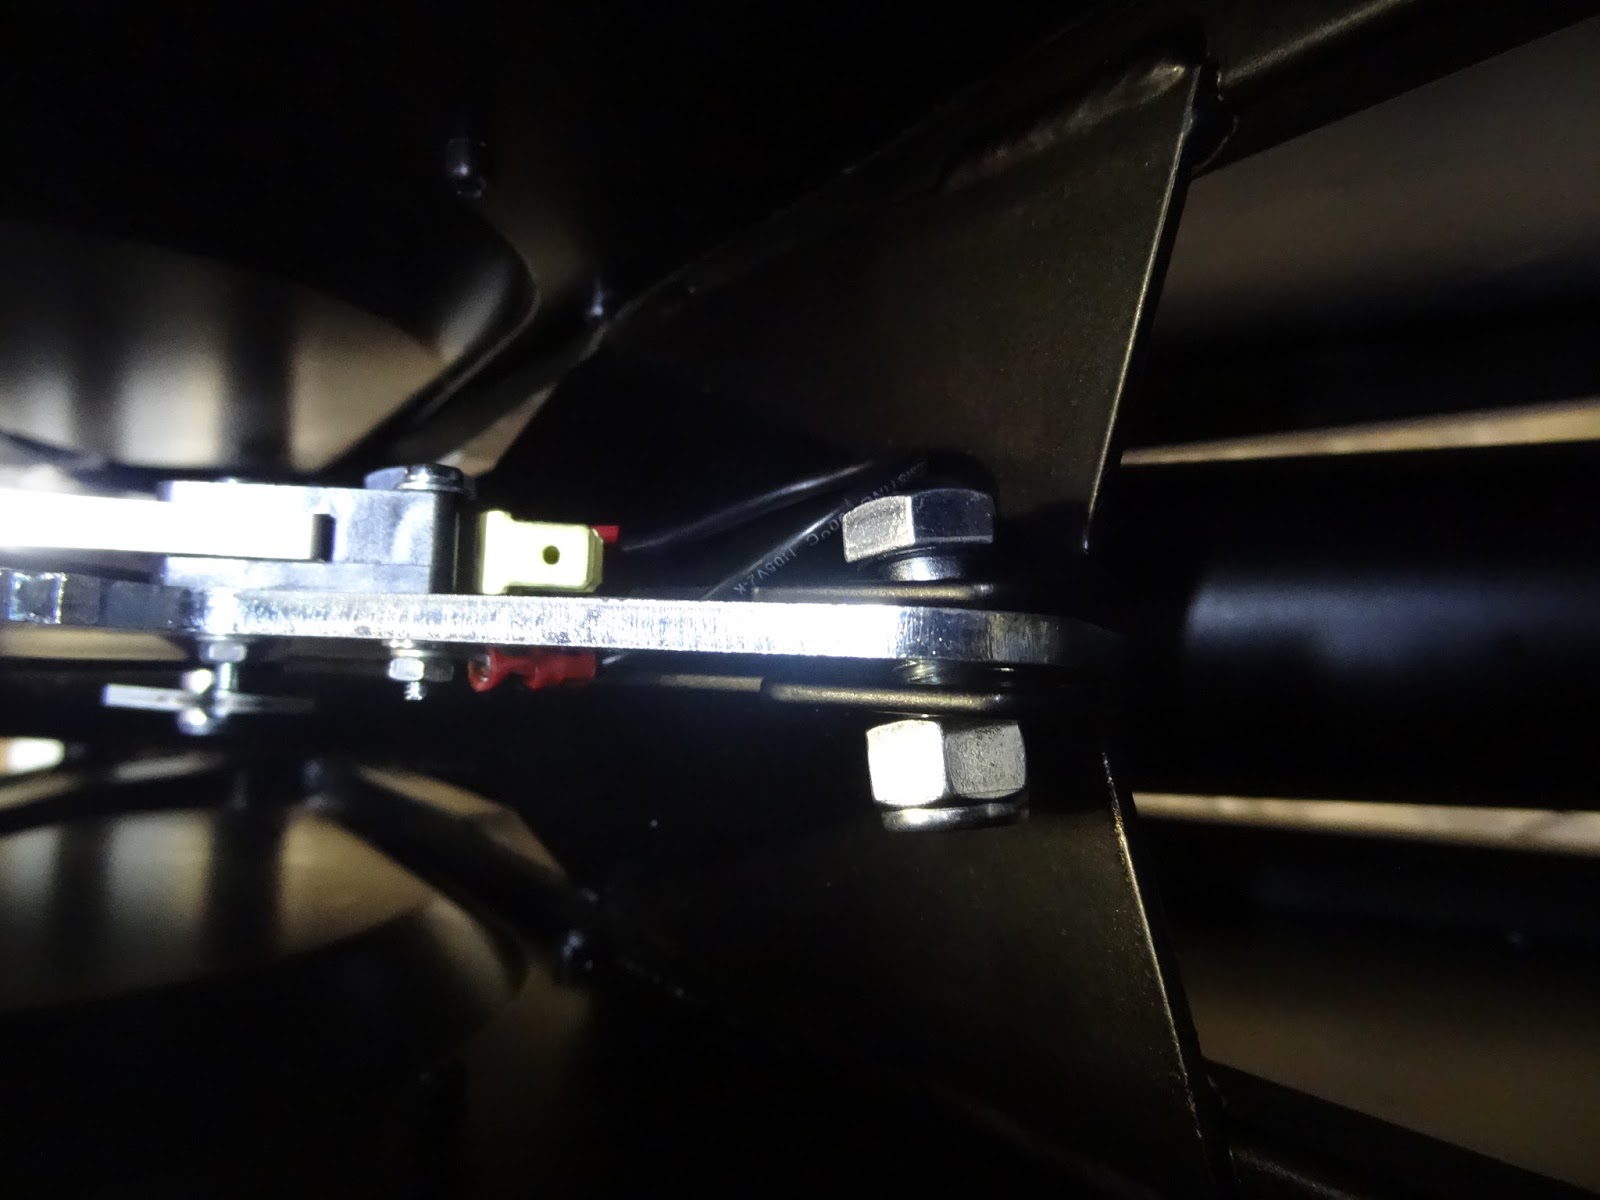
We then attached the pulley link to the brake cable. We found loosening the adjuster a foot or so allowed enough slack to work on the lever and pulley, and attaching the rear pulley first, before the front. The pins proved a little difficult as the holes aren't quite large enough, so they had to be persuaded through with some pliers.
Handbrake Cable with no twist (all SV cars).
Split pins in, a tad tricky as there is little room to move hands in the tunnel.
Overview of handbrake.
Torquing Ears and Bearings
We then moved onto the rear end, where we decided to torque up the aluminium ears and the bearings. This proved trickier than expected as there is limited access to the heads, mostly because we insist on properly torquing bolts by only torquing the nut and not the bolt, as the bolt will stretch if torqued much, even at low figures. In order to get to the heads and get enough leverage on the bolts we chocked up the de dion tube with a plank of wood. Also it was impossible to got the socket on the bolts around the RH drive shaft because of the speedo splines, so we had to wedge some wood in between the splines and the ears in order to torque the bolts.
It's a Monday Evening so we aren't going to do very much, so we have decided to get the front anti-roll bar in. Firstly the manual says to install the radiator inner cowling before the ARB, however in our eyes, and we have tested it, the cowling will go in after so we will ignore the instruction. First the rubber bushes had to go into the brackets, some silicone spray was helpful in doing this. These were then slid onto the ARB, then the rubber boots were slid on and the plastic balls were tightened on the end of the bar with protected pipe grips. We then coated the ends on the balls with grease and put some into the cups, which turned out to be too much, as it hydraulically locked the cup causing the brackets to stand off to far to be tightened. We then removed the bar, removed a little grease (and a lot of paint which scraped off as the ball went in) then re-positioned the bar. This is actually not too hard, one person is enough (possibly made easier by the longer bar on theSV model), then torqued adequately.
A dab of grease coating the ARB ends.
Just a quick but of de-burring of the radiator brackets.