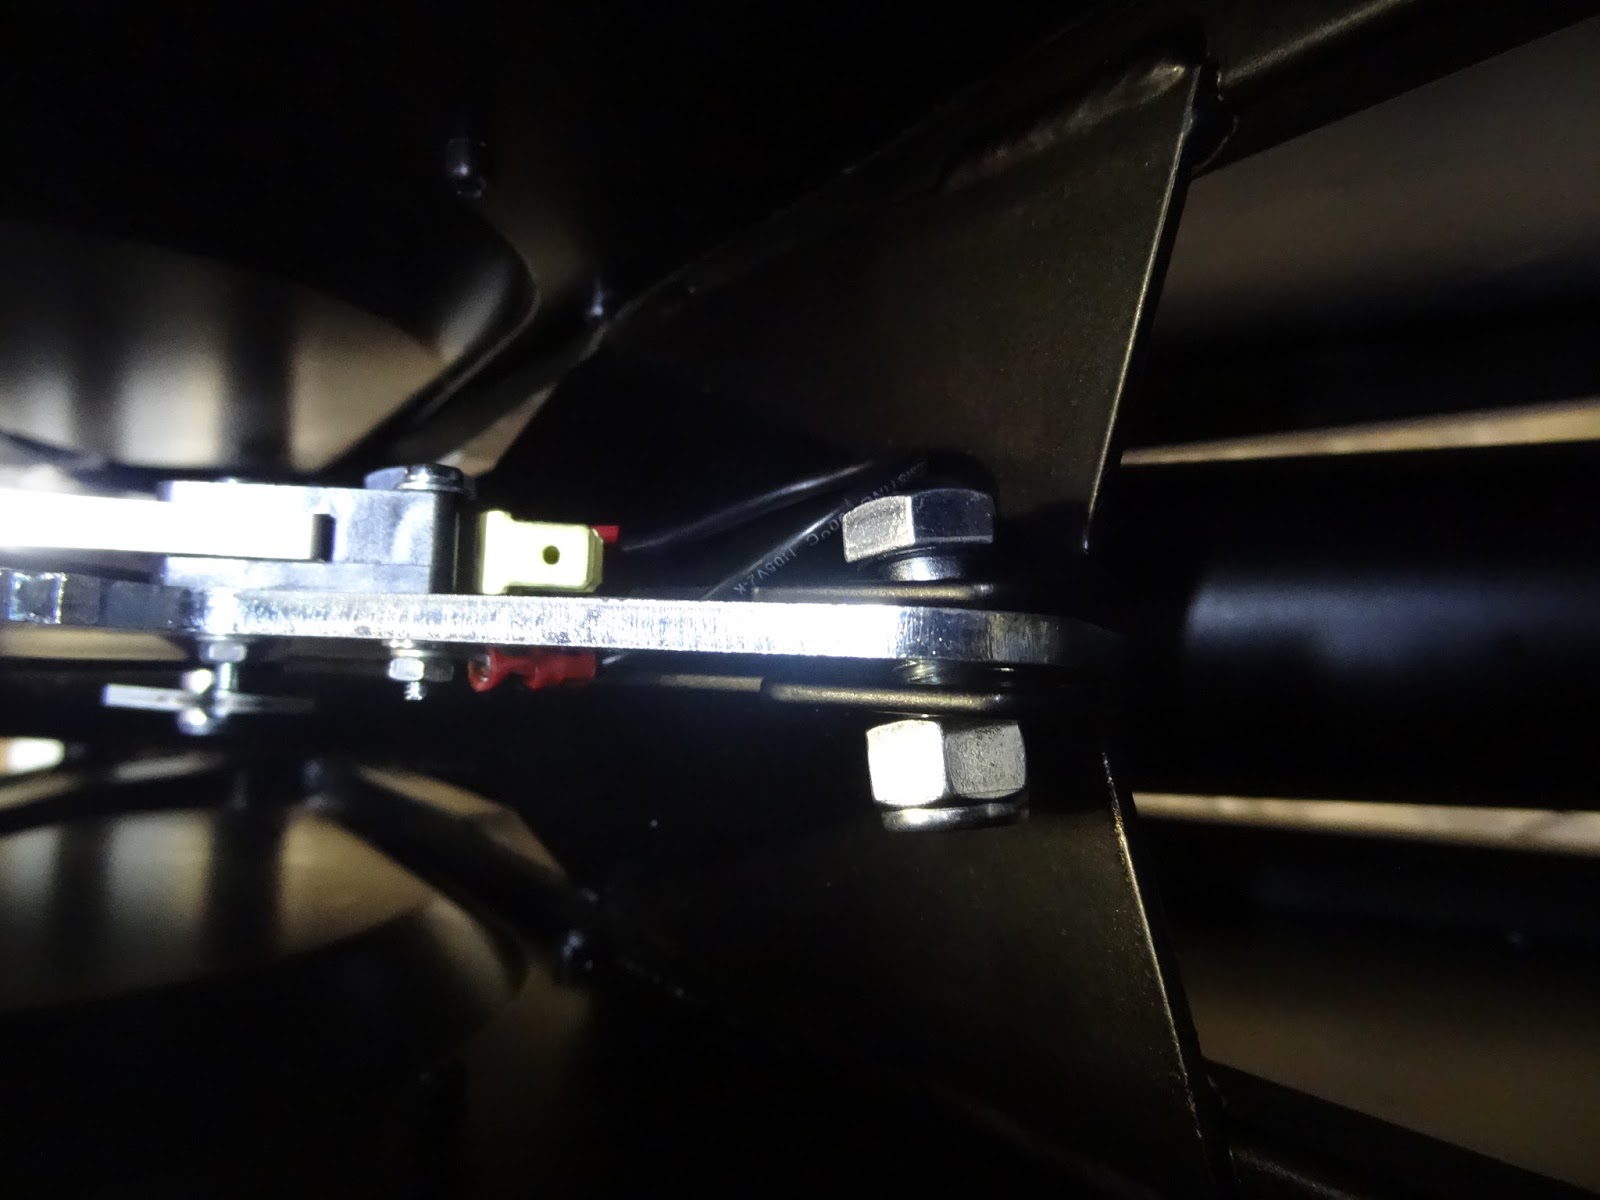
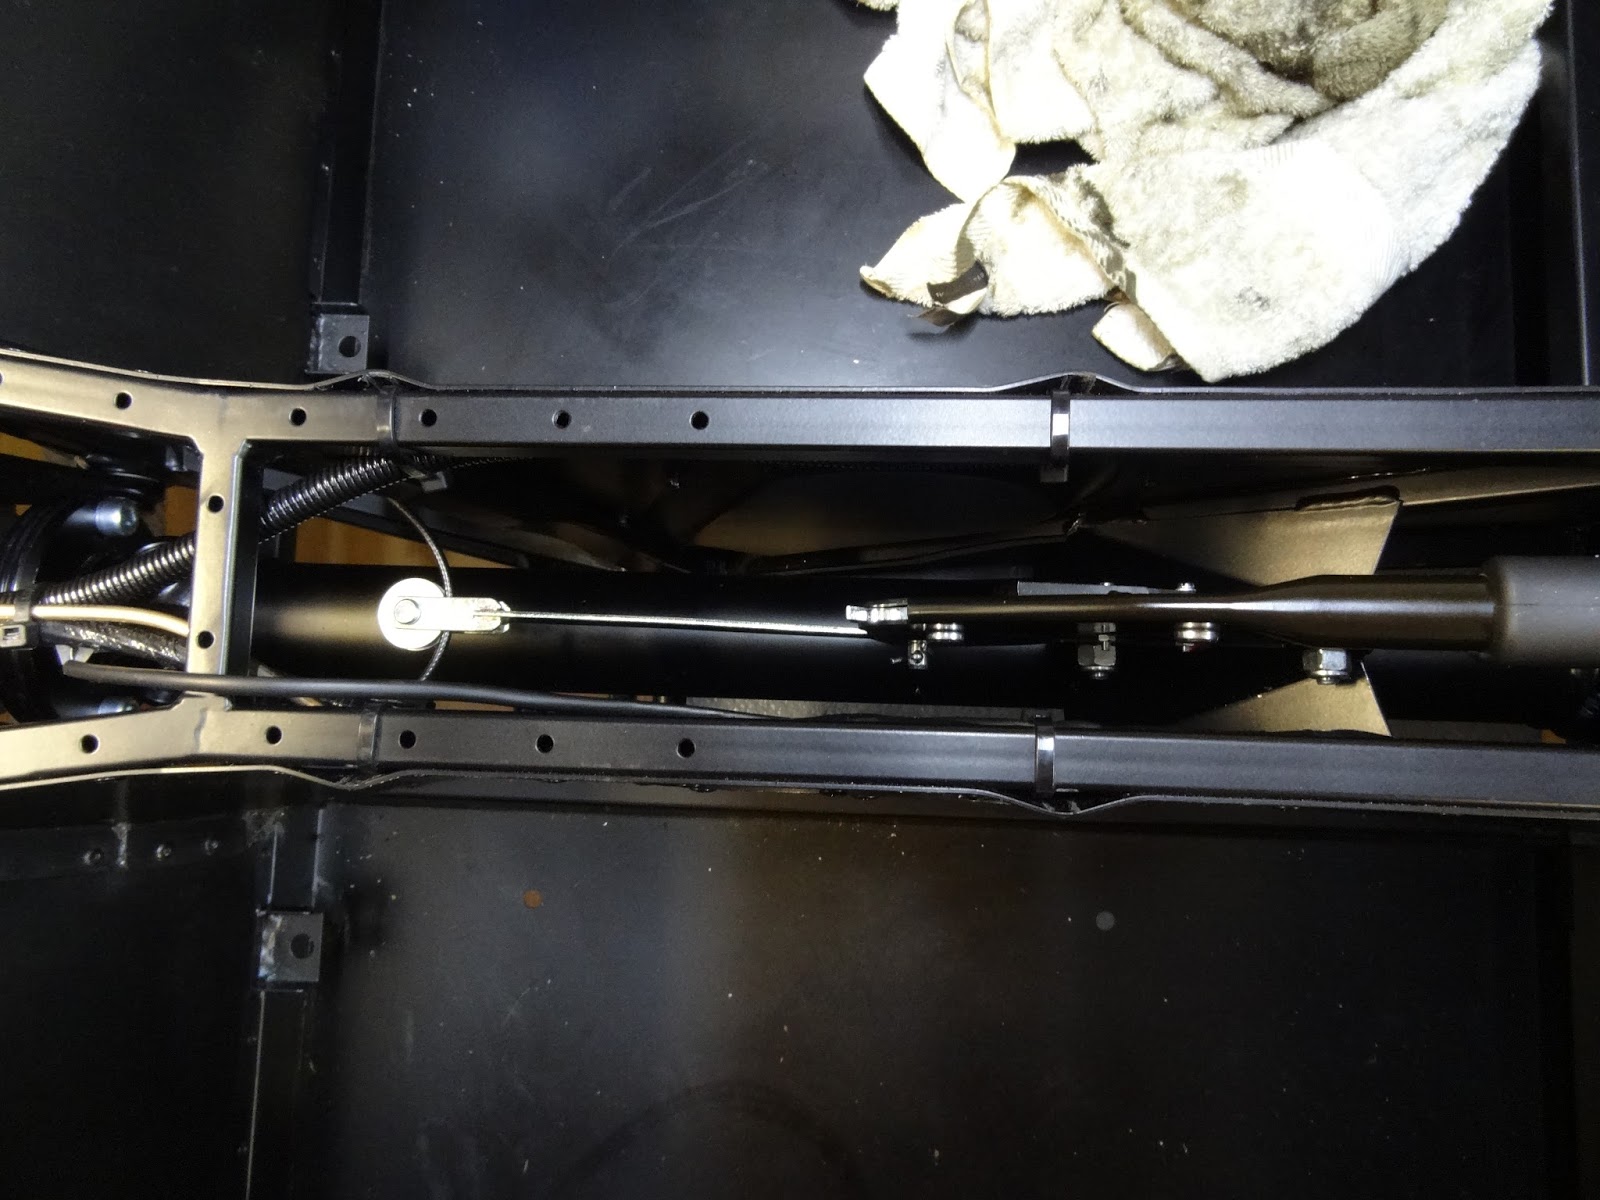
Having finally had the chance to have a look around under the bonnet and nose cone we've been able to find a few things that Caterham have carried out over the last week. Here are a few things that may help others who are building their car, and a few things that are the up-to-date how-to's for building the car ready for VOSA.
One job that we were going to do, but ran out of time, was to bend the wipers so they are parallel with the windscreen, which Caterham have done for us.
Caterham have added another negative lead to the battery, which then bolts to the chassis under the heater control valve.
Extra lead. Also the battery breather hose had also been removed.
The Battery covers have been changed and removed.
When looking at the oil breather bottle we noticed that they had removed the breather hose, and had removed the hose clips holding the breather bottle hose.
The breather hose we had relocated has temporarily been plugged to stop dirt getting in and allowing us to later fit another cover or hose.
Admittedly we made a little bit of a mess with the wiring for the right hand headlight, which was functional but not pretty, however it has been moved from under the expansion bottle and onto the chassis tube. Also the indicator earth we had sliced into the headlight assembly had been removed and bolted to the chassis in the same way as we had done on the LHS.
We can't remember whether this hole behind the brake line was there before, but we can't imagine someone would drill a new hole into a chassis tube. Also, as can be seen here, the trim around the exit hole for the steering arms have been removed.
The braided clutch cable had a length of fuel hose over it in order to protect it. No idea how this has been put on, unless it has been cut open and cable tied, as I didn't check.
The front edge of the cat guard has had a small length of scuttle trim added.
The way the handbrake cable has been fixed to the 'A' frame has also been changed. Before we used 'P' clips to hold it off of the drive shafts and the chassis, as others have done, however now it is being held in place with cable ties.
Cable ties around the rubber sleeve pre-attached to the cable, and onto the 'A' frame.
The length above the diff has been held off by a cable tie.
Another length of fuel hose has been used to protect the brake hose to the rear brakes.
All of our cut down seat bolts have been removed and replaced with the original length of bolts...
For the life of us we cannot unearth what they have done for the quoted two hours removing and re-attaching the Di-Dion ears.
Just no idea...
The engine seems to be working fine, sounding like it should, and now all of the exhaust it the correct colour.
A piece of scuttle trim has been fixed to the underside of the steering rack bridge in order to reduce abrasion to the oil hoses.
From Above.
From the front.
To end the day we decided to add one of the last visual finishing touches to the car by adding the recently acquired nose badge. We decided to go for the black and chrome Super 7 badge sold by Caterham, as the rectangular green monstrosity isn't going to go well with the colour scheme. The dilemma of the badge seems to have been resolved by Caterham as, according to an article in Low Flying, the badge has been changed to a black circular design, which is currently on the 620R and 620S.
By drilling through and bolting the badge to the nose cone we don't have to worry about the self adhesive patch, on the back of the standard badge, sticking to the paint protection film.
The black badge surround is very similar to the "Starlight Black" stripe.
Day 42- IVA Trim, Handbrake Cable, Steering Clamp, and Lambda Probe
IVA Trim
Covers on uprights, also on steering rod ends. (The one over the bolt connecting the steering arm to the upright was removed by Caterham during the PBI, however may put another back on)
Cap on head but not nut, of the front upper wishbone mount.
Cap on bobbin and on bracket top. (Also on PBI Caterham fitted some scuttle trim onto the front of the cat heat shield.)
Handbrake Cable
We have now finished fitting the P clips to the chassis and handbrake cable as many others have done. We do feel however that it runs a little close to the drive shafts, however this is the best we can get it.
During the PBI Caterham have removed the P clips, and cable tied it to the "A" frame, which somehow takes it slightly further off of the top of the drive shafts.
Routing of the handbrake cable.
Steering Clamp
We have noticed, when re-reading other peoples blogs that the chamfered side of the small side of the steering clamp should face the shaft and not outward as seems most appropriate.
Tightened and torqued.
Lambda Probe
We have now decided where we wish to run the lambda probe wiring along the body and to the connector. We used adhesive cable tie bases to hold the cable tight to the body, then ran it up the end of foot well, then along the top, being fixed in certain places. We have decided upon this so as to reduce the possibility of cable damage by stones etc. as it runs at one of the lowest points on the car.
Cable tie base on inside of chassis.
Cable running from possibly destroyed cat and up the foot well. This was later removed by Caterham and relocated along the underside of the car, then up the tunnel, under the battery.
Day 22- Handbrake, Breather Hose Bracket, and Engine Earth.
Handbrake
To get the eye of the handbrake cable onto the hook on the top of the calliper, as much slack as possible has to be taken out of the adjuster in order to have enough length to get the eye onto the hook.
Handbrake cable connected.
Oil Breather Hose Bracket
We felt that the oil breather hose running from the top of the engine and the top of the sump tank felt unsupported, so, to remedy this, we made a bracket out of an old aluminium sheet in the garage.
Using the reciprocating saw to cut the strip needed for the bracket. This has been used a worrying amount during this build, an invaluable piece of kit.
Bent and in position. After we will clean it up and add some self amalgamating tape around the sides to reduce chafing.
Engine Earth
While dad was making the bracket I was having a tidy and attaching the earth strap to the engine. One of the Bellhousing bolts is removed then passed through the larger eye of the black battery lead, then re torqued.
While dad was at work I decided to fit the rear anti roll bar, as it sounded as though it was either difficult to fit later or wouldn't go at all later on. Firstly the rubber bobbins went on easy enough with some silicone spray and some pulling, then I ignored the instructions about putting the bolts up through the chassis and bolted them down through so as to give an insurance measure in case the nylocs did work loose then the bolts wouldn't just fall out.
Parts required. Nice details on the ali mounts.
Roll bar mounts fitted with bolts tightened down through the chassis.
Electronic gauge doesn't fit on the top so I calibrated one of the smaller torque wrenches.
In the end i couldn't finish the ARB fitment... this was due to the fact that we had not been supplied with the hexagonal spacer nut, which goes between the drop link and the de dion tube.
(Turns out later on that Caterham do not do this anymore as the design has changed, so instead of the two drop link heads facing the same way, they face in opposite directions and bolt directly to the de dion mount and the ARB.)
Propshaft
I then moved on to bolting the propshaft to the diff. Firstly I could only find 4, appropriately sized, cap heads not the bolts pictured. In order to stop the shaft from rotating I used to long screwdriver wrapped in a rag and inserted it through the universal joint. On my own it was only possible to get the screw driver through twice, on opposing sides, so I left the remaining two for when dad got home from work, so he could lock it from the top.
Shaft tied in place to stop scrapes appearing in the paintwork before the diff was installed.
Screwdriver in place, more than enough to torque the bolts.
Hub Nuts
Yesterday we realised that the LH hub nut was too big to fit into the 41mm socket, so I filed down the edges of the nut until it fitted correctly.
Hub nut before.
Nut after.
Handbrake
When dad got home we got started together straight away, just to finish some bits and bobs. To start we fitted the handbrake, just a case of slotting it in, then through bolting the bracket. The bolts were a little tricky to get in as the brackets didn't align, but driving them through then tightening them pulled them into alignment.
A slight miss-alignment but went in after a little fiddling.
We then attached the pulley link to the brake cable. We found loosening the adjuster a foot or so allowed enough slack to work on the lever and pulley, and attaching the rear pulley first, before the front. The pins proved a little difficult as the holes aren't quite large enough, so they had to be persuaded through with some pliers.
Handbrake Cable with no twist (all SV cars).
Split pins in, a tad tricky as there is little room to move hands in the tunnel.
Overview of handbrake.
Torquing Ears and Bearings
We then moved onto the rear end, where we decided to torque up the aluminium ears and the bearings. This proved trickier than expected as there is limited access to the heads, mostly because we insist on properly torquing bolts by only torquing the nut and not the bolt, as the bolt will stretch if torqued much, even at low figures. In order to get to the heads and get enough leverage on the bolts we chocked up the de dion tube with a plank of wood. Also it was impossible to got the socket on the bolts around the RH drive shaft because of the speedo splines, so we had to wedge some wood in between the splines and the ears in order to torque the bolts.