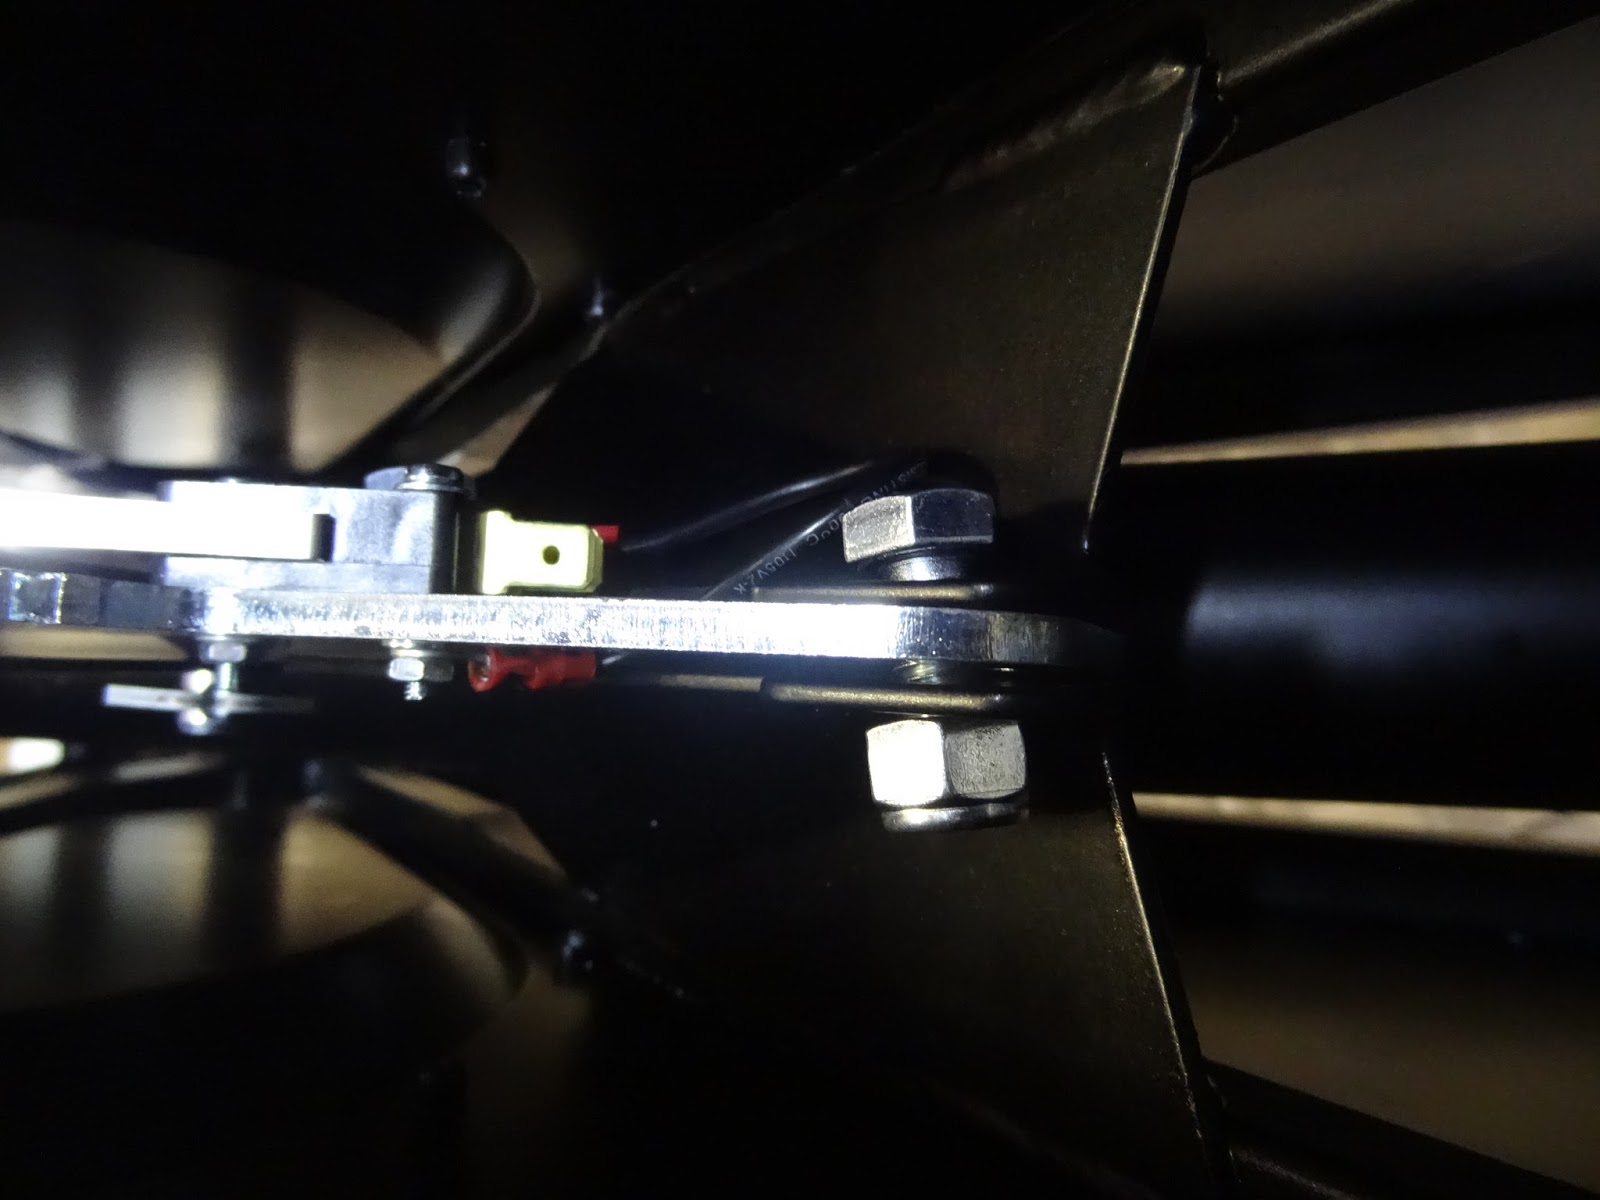
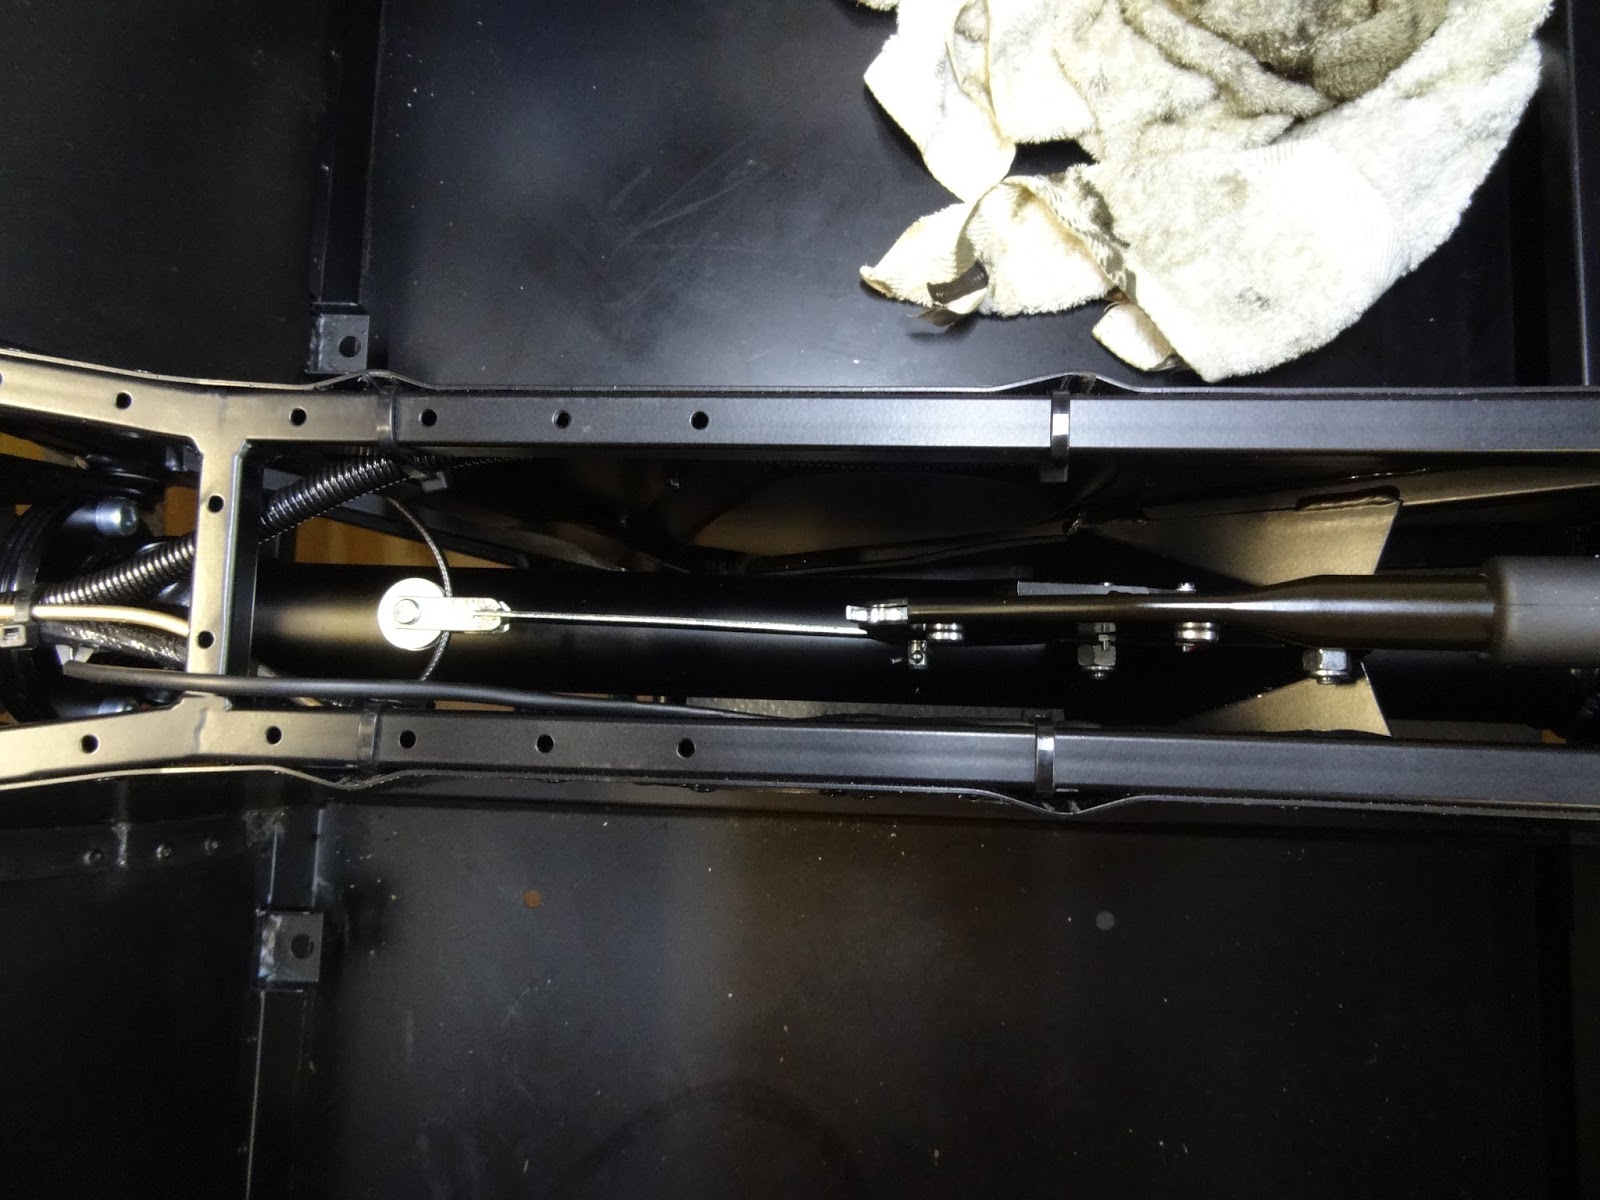
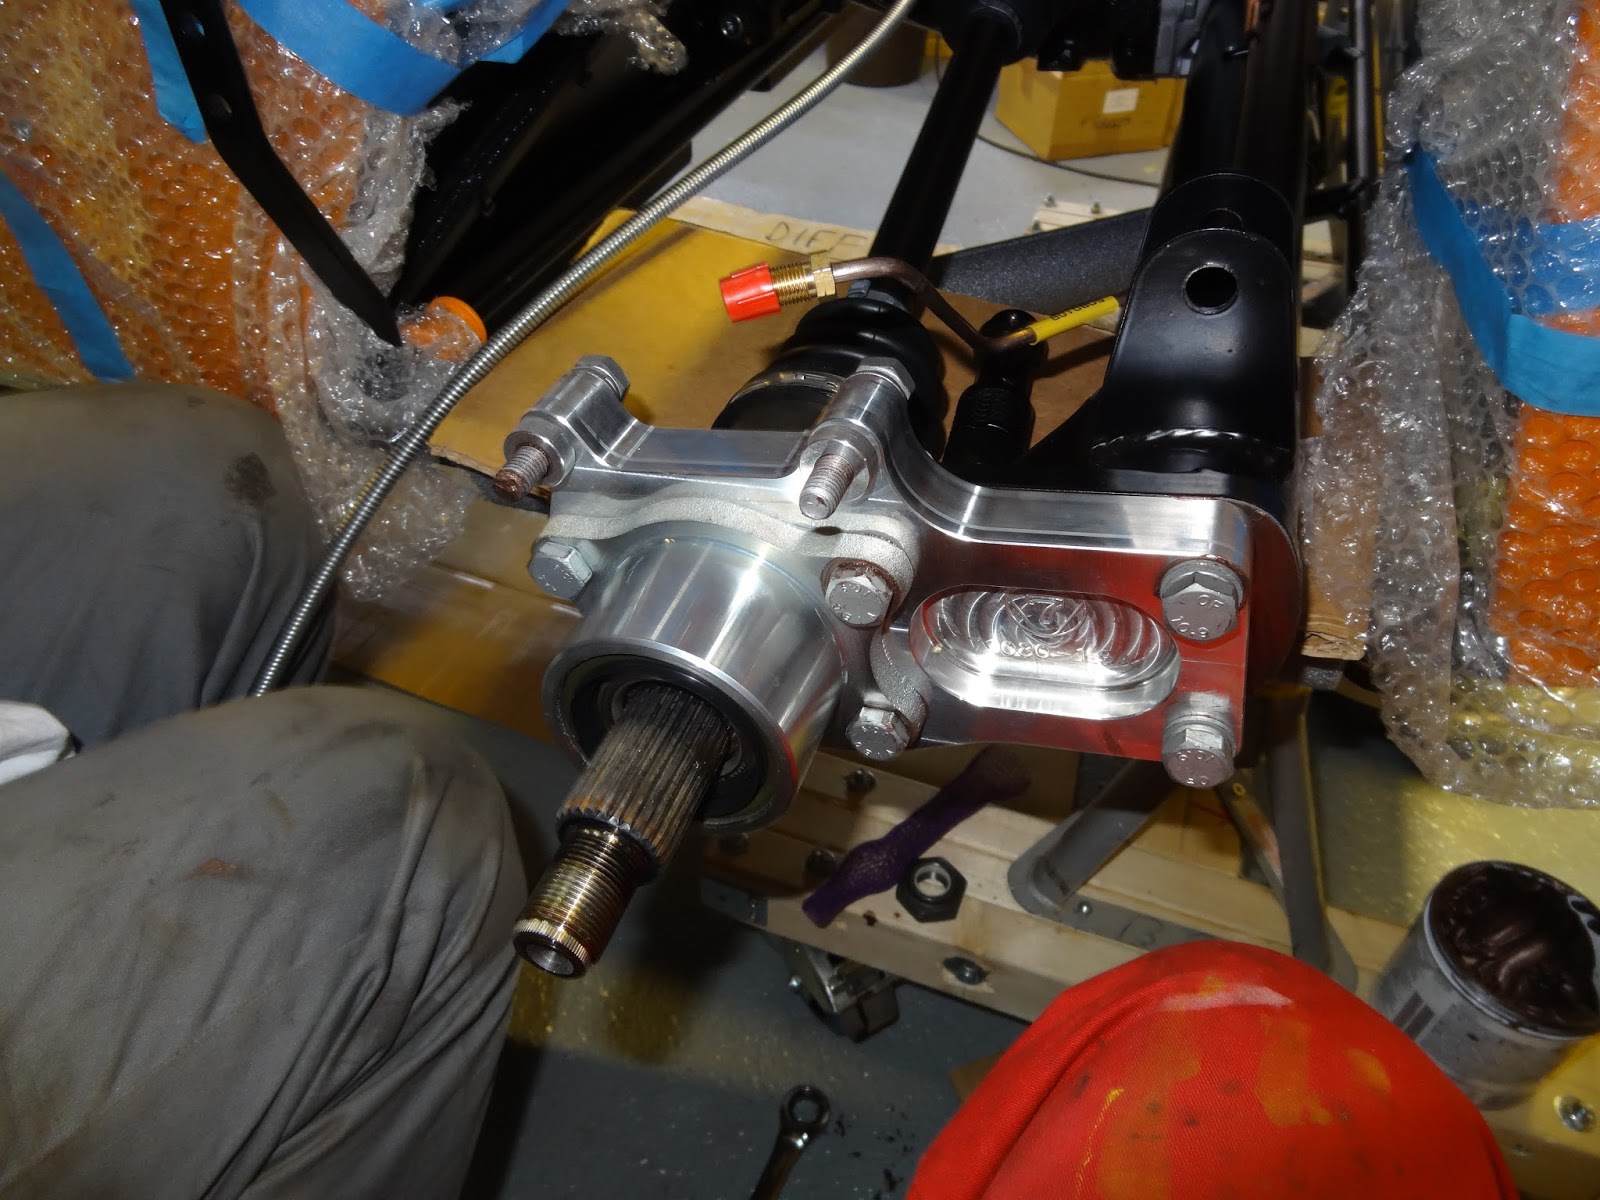
We went out first and aligned the A frame and torqued it as required. The alignment was 3.5mm to the RHS off centre, with the advised 4 washers on the right and 3 washers on the left. We removed one large washer from the LHS then added a thinner heavy duty washer from each side. Then Torqued the frame and measured it again, which brought it within 1mm of centre (well at least was to the best of our abilities to accurately measure the alignment...).
Rear Dampers
We then moved onto the rear dampers which, as many other things, took longer than expected. The fit for the top bush was very tight, sufficiently enough for several whacks with a rubber mallet to not budge it an inch. Instead we used a fairly long, thin piece of hard wood, and a lump hammer in order to coax it in. Then end was placed on the edge of the bush and "persuaded" into place.
Damper finally in place.
Here the calliper wasn't in place as the hub nut needed to be tightened for the disk to not foul on the calliper bracket. So after the dampers went in we fitted the calliper properly.
Bush in place with caphead in place.
New socket adapters. Bottom right (1/2" F to 3/4" M) used in 41mm socket.
More prep for the weekend, so started with the A frame. I didn't want to fully fit it until dad got to have a say on it so I just loosely fitted it with roughly the right washers, the correct bolts in the front two mounts, and the correct bolt and nylon washers through the di dion tube. Just remember to tighten the A frame to the di dion tube before trying to centralise the A frame using the di dion tube, otherwise it will throw the tube out of alignment.
Rear A frame mounting with nylon washers, torqued first.
Rear Callipers and Brakes
I then moved onto the rear calliper assembly. Firstly by sliding the disk over the splined end of the drive shaft, then putting the hub nut back. Following this the calliper brackets can be bolted onto the tube ears using the bolts used previously. The brake pads are then placed into the recessed slots either side of the calliper brackets. Before the callipers are bolted on the retaining clip must be slotted into the rectangular hole in the top of the calliper. We had found that attaching the brake line first to get the right alignment for the thread, then lowering the calliper into position and bolting it on, was the best way to fit the calliper, otherwise the brake line seems too easy to cross thread and it would be hard to get the perfect bend on the brake hose otherwise.
Fitted calipers with clip in top.
I did also come to the conclusion that the disk would fit better once the hub nut had been tightened. I couldn't do this as the 41mm socket dad used on his previous Caterham had been rendered useless, as we have lost the 3/4" adapter required for the larger socket. We are just waiting for the new adapter set we have ordered.
Steering
The steering was fairly easy to put in, but couldn't be finished as we haven't finished cleaning and polishing the primaries, the cat, and the exhaust. The lower column went in first, just slid up through the two rubber grommets in the foot box, which was made easier by removing the covering plate. Then the upper column is slid down through, from the top, making sure not to dislodge the white plastic liner of the rubber bushes. The upper bush can be slid onto the upper column before or after, depending if a QR steering wheel has be opted for.
Column clamp left loose for completion later.
I then loosely fitted the clamp to the middle of the column where the two meet, with the edges aligned. Moving onto the universal joint, between the steering rack and the steering column, it was evident that the job wasn't going to be completed due also to the front uprights looking considerably toe out, meaning that the track rod ends were going to have to be taken off and that the number if turns given in the instructions is wrong. I also found that the bolts passing through the universal joint and stopping it from pulling off wouldn't easily go through (only on the steering rack end) so the joint had to be opened up a little.
Left like this until the primaries are fitted.
Later on we will finish this job once the exhaust is completed. This will hopefully resolve the wheel alignment (turns on the track rod ends) and also how much tilt is required on the steering rack, as we are unsure as to whether the steering column will foul on the primaries if the rack is at certain angles. We would prefer this to be as in line with the steering column as possible.
While dad was at work I decided to fit the rear anti roll bar, as it sounded as though it was either difficult to fit later or wouldn't go at all later on. Firstly the rubber bobbins went on easy enough with some silicone spray and some pulling, then I ignored the instructions about putting the bolts up through the chassis and bolted them down through so as to give an insurance measure in case the nylocs did work loose then the bolts wouldn't just fall out.
Parts required. Nice details on the ali mounts.
Roll bar mounts fitted with bolts tightened down through the chassis.
Electronic gauge doesn't fit on the top so I calibrated one of the smaller torque wrenches.
In the end i couldn't finish the ARB fitment... this was due to the fact that we had not been supplied with the hexagonal spacer nut, which goes between the drop link and the de dion tube.
(Turns out later on that Caterham do not do this anymore as the design has changed, so instead of the two drop link heads facing the same way, they face in opposite directions and bolt directly to the de dion mount and the ARB.)
Propshaft
I then moved on to bolting the propshaft to the diff. Firstly I could only find 4, appropriately sized, cap heads not the bolts pictured. In order to stop the shaft from rotating I used to long screwdriver wrapped in a rag and inserted it through the universal joint. On my own it was only possible to get the screw driver through twice, on opposing sides, so I left the remaining two for when dad got home from work, so he could lock it from the top.
Shaft tied in place to stop scrapes appearing in the paintwork before the diff was installed.
Screwdriver in place, more than enough to torque the bolts.
Hub Nuts
Yesterday we realised that the LH hub nut was too big to fit into the 41mm socket, so I filed down the edges of the nut until it fitted correctly.
Hub nut before.
Nut after.
Handbrake
When dad got home we got started together straight away, just to finish some bits and bobs. To start we fitted the handbrake, just a case of slotting it in, then through bolting the bracket. The bolts were a little tricky to get in as the brackets didn't align, but driving them through then tightening them pulled them into alignment.
A slight miss-alignment but went in after a little fiddling.
We then attached the pulley link to the brake cable. We found loosening the adjuster a foot or so allowed enough slack to work on the lever and pulley, and attaching the rear pulley first, before the front. The pins proved a little difficult as the holes aren't quite large enough, so they had to be persuaded through with some pliers.
Handbrake Cable with no twist (all SV cars).
Split pins in, a tad tricky as there is little room to move hands in the tunnel.
Overview of handbrake.
Torquing Ears and Bearings
We then moved onto the rear end, where we decided to torque up the aluminium ears and the bearings. This proved trickier than expected as there is limited access to the heads, mostly because we insist on properly torquing bolts by only torquing the nut and not the bolt, as the bolt will stretch if torqued much, even at low figures. In order to get to the heads and get enough leverage on the bolts we chocked up the de dion tube with a plank of wood. Also it was impossible to got the socket on the bolts around the RH drive shaft because of the speedo splines, so we had to wedge some wood in between the splines and the ears in order to torque the bolts.
We had originally decided to fill the diff off of the car and this may seem like an odd idea when looking at the diff upon arrival due to the dirty great hubs that have to be removed before inserting the drive shafts. HOWEVER there is no need to fill the diff after it is fitted!!! And the same goes for the Gearbox, fill both before getting them in the car... no faff required!!! This is because the filler plug is below if not in line with the bottom level of the hubs. This seems to cause people trouble if they have either forgotten to fill the diff after the boot is finished or don't have decent way to fill the diff due to the limited space and awkwardness of its position. May have to admit though that we did fill the diff along with the gearbox, so technically we didn't realise the lack of need to fill after installation.
On another note we have done some research on running in etc which currently is pointing towards carrying out a full wet pack replacement after 10 or so miles so as to replace diff and gearbox oil. This is in order to remove material present after the mechanical parts are seated and worn in properly. The problem however is that it is then very hard to remove the oil from the diff without either removing the back plate or pumping it out. We will however endeavour to keep the blog up to date with our research, or if anyone has a strong opinion on the matter, then please feel free to comment below.
The hubs came off pretty easily, just a crowbar with the right leverage and then pop out quite easily.
Seats well under the flange.
Dad applying copper slip to the ends of the drive shafts, gestures unintended... just a side effect of the missing index syndrome...
Rear Axle
After putting the shafts in we removed all of the parts from the end of the de dion in order to get it passed the diff, which, at the moment, looks like it will have little or no room. However care and two sets of hands made light work of the job, which was completed by reassembling the ears and bearings.
Ears and bearings fitted, with bolts copper slipped and tightened, not torqued.
Just checking the accuracy of a couple of our mechanical torque wrenches using the electronic one. The smaller one was only a couple of Nm out, however the largest one was more than 10Nm out, more than enough to strip a thread, which could cause catastrophic in the wrong place.
Now our shelved have a couple of lovely ornaments...
Now the diff and the propshaft is in we can progress onto the rear axle. Yesterday evening we took a couple of hours to plan this morning and properly get to grips with the instructions, and get a little start on the De Dion tube by dry bolting the aluminium ears. Tonight we moved onto preparing the tube, and the car for fully fitting the rear suspension and axle.
De Dion Tube
We dry fitted the ears, calliper brackets, and callipers to the De Dion tube in order to rivet the brake lines to the tube. Naturally we have found, as all others have, that the RH brake line requires bending to the correct angle to be able to be screwed into the back of the calliper.
It gets quite Confusing while trying to fit the right bolts in especially with the several varying lengths of M10 bolt in the pack, but we believe we have used the correct bolts.
LH Brake pipe with sleeve against watts-link/ radius arm bracket.
After bending the pipe we put the 5 P clips on the pipes then proceeded to rivet the pipes, only to find that the holes aren't quite large enough, so we quickly cleaned out the holes with a drill then properly riveted the hose on.
Hose sufficiently bent around 22mm socket set in the vice.
Having read through the manual for the correct procedure for putting the rear suspension in we realised that we needed to fit the roll bar as we had the new FIA variant meaning that it had to be fitted before the rear dampers, and that we perceived that it would be a shorter job than it would soon turn out to be...
FIA Roll Bar
This has probably been easily the second most, after generally having so many missing parts, that we have come across so far. Firstly having placed the bar onto the car and into the bucket bushes it was evident that the bar wasn't going to go in without a struggle. First of all the capheads passing up through the body and into the bottom of the bar went in ok, however it was evident that the top bolt passing in through the top wasn't going to align with the hole without a shove.
Top bolt hole.
To get these bolts in the struts must be pulled out and then pushed into the brackets in the rear of the boot, then while one person pulls the main hoop over to clear the hole the bolt can be tightened. However then the rear struts fall out. Anyway in the end we managed to break the head off of top bolt meaning the thing had to come off again. First we tried using mole grips to unscrew it without effect, meaning we were faced with having to drill the thing out... As one would tap a hole we increasingly drilled the centre out and eventually managed to remove enough material to be able to rip out the remaining threads and clean it out using a tap.
Bolt mid removal.
However eventually we were able to repeat the fitting procedure, taking even more care not to strip any threads, and got the thing in and torqued up.
Finally starting to look a little bit like the finished product.
Next time we will move onto the rear axle now that the roll over bar is in.