Showing posts with label Dry Sump Tank. Show all posts

Sunday, 17 January 2016

Build Day 41- First Start Up

Day 41- First Start Up


Start Up Prep   


Before we can start the engine it needs filling with coolant and oil. After our research we have decided to run in the engine using mineral running in oil, and thus have decided to go for Millers CRO 10w40 Running in mineral oil. Initially we put in the 6trs the manual says to put in for starting. Also before starting we turned the engine over to circulate the oil properly. (http://www.millersoils.co.uk/automotive/tds-automotive.asp?prodsegmentID=187&sector=Motorsport)


Letting the bottle drain. Not a drop seems to come into the tank, evidently it requires turning over to circulate the oil.

Running in oil.

We then filled the cooler bottle, and the radiator through the top plug, with a 50/50 mix of de-ionised water and the supplied coolant. This was only filled to the minimum fill line then topped up as required. Finally we filled the petrol tank with roughly 15ltrs of petrol.


Be very careful, over fills very quickly.

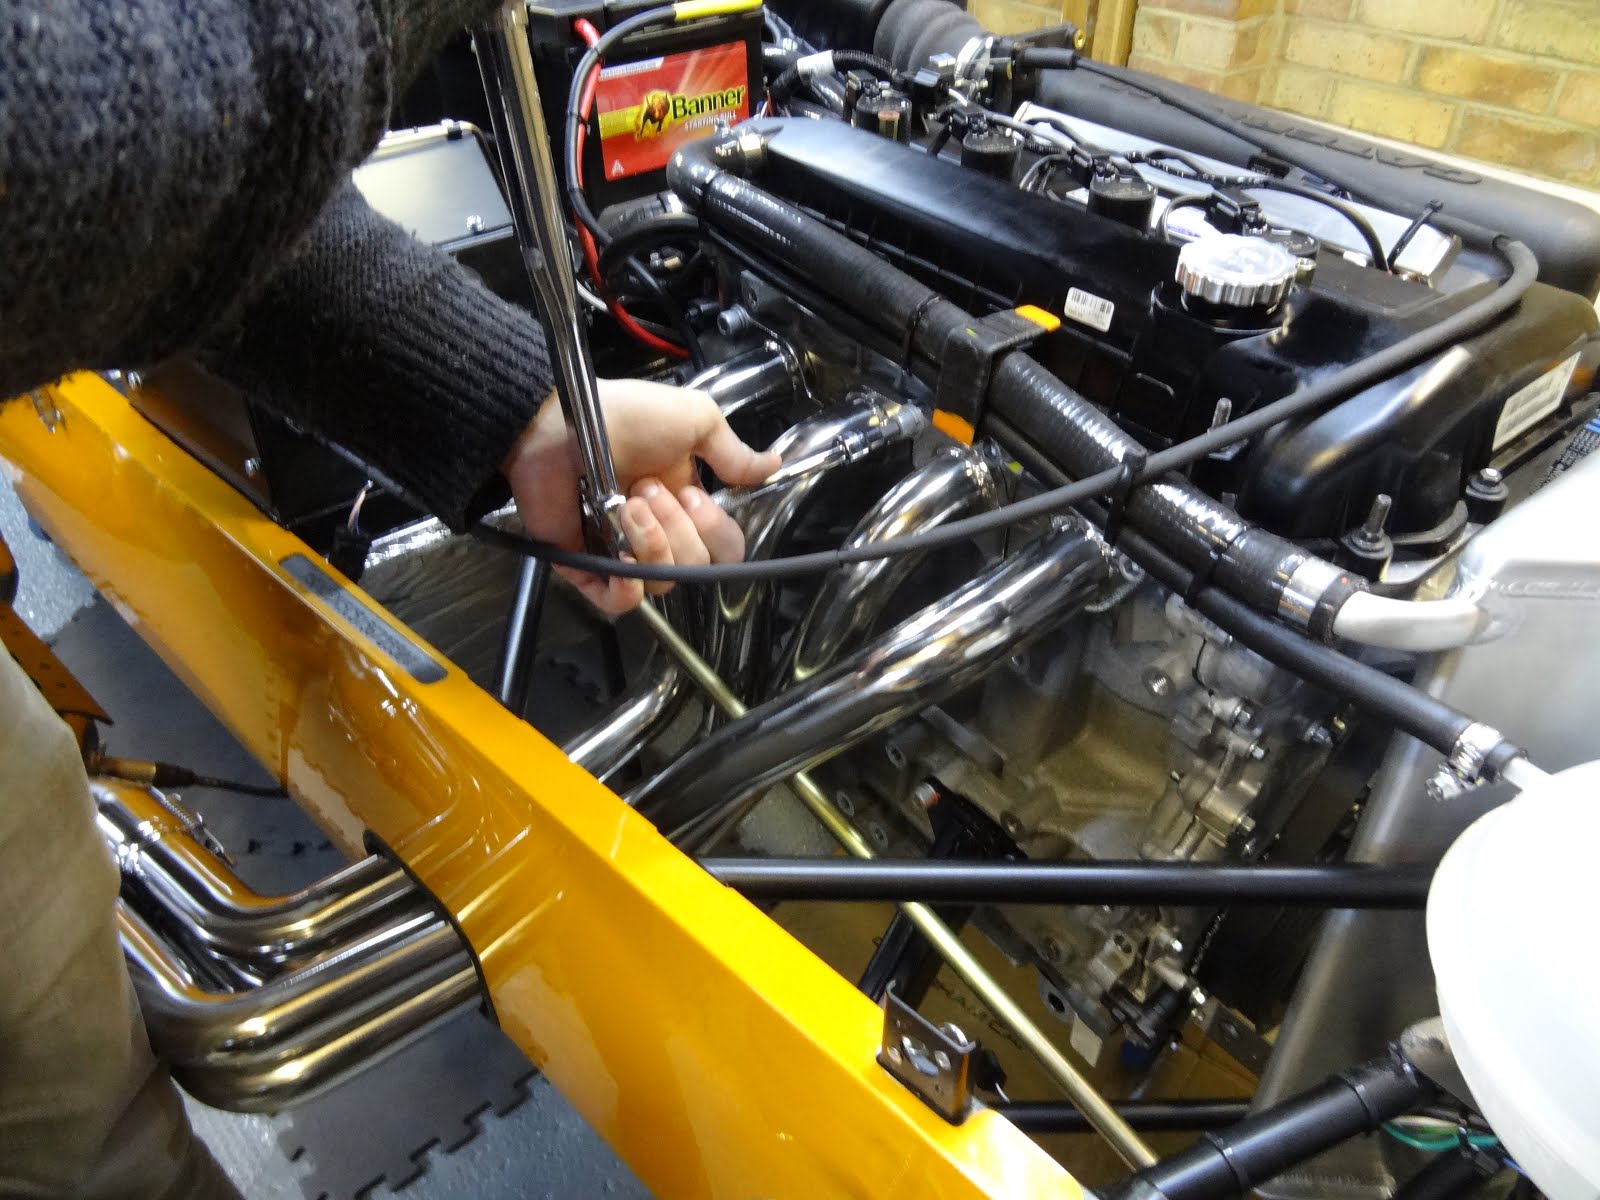
Before putting the car on the floor we gave the exhaust bolts a quick torque, put the wheels on, then dug out the keys.

Primaries looking great with the wrapping off.

Certainly an unexpected surprise unveiling these when the car arrived.

Car rolled out ready to go.


Start Up


As instructed we initially disconnected the fuel inertia cut off switch on the bulkhead, then proceeded to turn over the engine for 30 seconds in order to circulate oil and coolant, and to get to 4+ Bar of oil pressure. Then we reconnected the switch, primed the fuel line with the ignition, then started the engine. This started straight away, however, as the idle hasn't been set yet the engine requires some revs in order to not cut out. We kept the engine at 2000 revs for a few minutes to allow for proper bedding of the heads.

This process quickly stopped however as we noticed that the catalytic converter had become cherry red and only two of the primaries were discolouring. After this we decided to allow the cat to cool, then we wheeled the car back in and not do anything more until we have talked to Caterham.

Only primary 1 & 3 being heated. Evidently not firing on all cylinders.

We have made a guess that the two misfiring cylinders are dumping fuel into the catalytic converter, which was burning from the exhaust gasses, thus heating the cat and eventually spitting flames out the exhaust.

Each of the light specks is a small blister where the heat was starting to damage the shield.

While the cat was cooling we decided to put the adhesive foam strips, supposed to be fore the cycle wing fitment for the protection of the paint under the bonnet. This is only going to be a temporary matter until we get some different foam.

Foam along front edge and underside.

Tuesday, 17 November 2015

Build Day 20- Dry Sump Hoses

Day 20-  Dry Sump Hoses


Hoses

This part was quite tricky and took quite a long time to finish. This was mainly due to the hoses being very tight for length, and that the angled neck of each hose only allows it go certain ways to travel from the cooler to the tank. Hoses join:

  • The LHS of the cooler to sump tank top.
  • The RHS of the cooler to engine out.
  • The bottom connection of the sump tank goes to the engine sump in.
We found that the connections with smaller diameter necks went onto the engine connections, the medium right angle connections went onto the underside of the oil cooler, and the larger necked connections went onto the sump tank connections.

The hoses don't reach from the oil cooler to their destination if the instructions are followed (possibly only for SV cars), as they are not long enough to go along the bottom of the radiator and around the LHS of the radiator.

The RHS - engine out hose runs under the radiator, under the steering rack, under the diagonal chassis tube, and onto the connection.
The short hose from the bottom of the sump tank to the sump connection, goes straight on, just making sure it doesn't foul on anything.

The top sump tank hose tuns straight down, under the radiator and straight onto the LHS of the oil cooler. 
A lot of care has to be taken to ensure that the blue threaded heads aren't cross threaded, as they are very easy to damage due to them being aluminium. 

Before finishing we noticed that we hadn't done anything with the large hole in the front of the sump tank. However there weren't any instructions even mentioning it, so we found an appropriately sized bolt then planned to buy some copper washers in order to be able to adequately seal the hole.

Hole in front left of tank??? Not a drain hole as there is one in the underside...


Saturday, 14 November 2015

Build Day 17- Radiator Cowling and Dry Sump Tank

Day 17- Radiator Cowling Flaps And Dry Sump Tank


Cowling Flaps

Got hold of the rubber flaps which cover the holes in the back of the radiator cowling, so we decided to fit them tonight. Annoyingly we had already had to fit the cowling and the radiator, which made it quite difficult to get the rivet gun in the space. In the end we just took it off as it wasn't going to work. 

Riveting Rear of Cowling

Horn

Before we re-attached the cowling and radiator we put some silicone into the ends of the horn power connectors. This is in order to reduce the likelihood of corrosion of the terminals.


Dry Sump Tank

The dry sump tank attaches to the chassis via a bracket at the top and via two P clips at the bottom. Firstly couldn't find a suitable bolt in the kit so used one from our various stores, and generally guessed as to the fitment as there are no instructions for the fitment of the tank, except a grainy aerial photo of the engine bay and a sentence saying to attach it via P clips. We attached 19mm P clips around the diagonal, thinner chassis tubes and not around the horizontal tubes. There is very little room in the space for the tank, millimetres in fact, but it does go in snugly if someone is at the top holding it straight. Care had to be taken when tightening the top bolt, as it was very easy to distort the bracket. After fitment the hoses went on very easily.

Bottom Clips on Chassis.

View from below.

Tank in and looking lovely.