Day 17- Radiator Cowling Flaps And Dry Sump Tank
Cowling Flaps
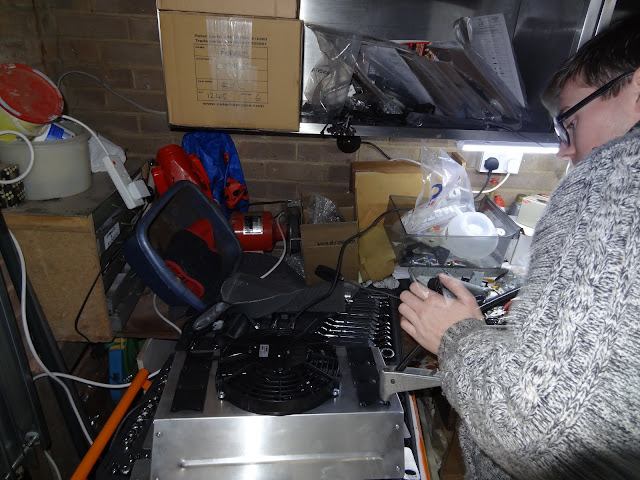
Got hold of the rubber flaps which cover the holes in the back of the radiator cowling, so we decided to fit them tonight. Annoyingly we had already had to fit the cowling and the radiator, which made it quite difficult to get the rivet gun in the space. In the end we just took it off as it wasn't going to work.
 |
| Riveting Rear of Cowling |
Horn
Before we re-attached the cowling and radiator we put some silicone into the ends of the horn power connectors. This is in order to reduce the likelihood of corrosion of the terminals.
Dry Sump Tank
The dry sump tank attaches to the chassis via a bracket at the top and via two P clips at the bottom. Firstly couldn't find a suitable bolt in the kit so used one from our various stores, and generally guessed as to the fitment as there are no instructions for the fitment of the tank, except a grainy aerial photo of the engine bay and a sentence saying to attach it via P clips. We attached 19mm P clips around the diagonal, thinner chassis tubes and not around the horizontal tubes. There is very little room in the space for the tank, millimetres in fact, but it does go in snugly if someone is at the top holding it straight. Care had to be taken when tightening the top bolt, as it was very easy to distort the bracket. After fitment the hoses went on very easily.
 |
| Bottom Clips on Chassis. |
 |
| Tank in and looking lovely. |


No comments:
Post a Comment