Day 5- Gearbox and Bits
Washer Bottle
First off we ran the windscreen washer tube into position before the engine and gearbox can fill the tunnel. We just lowered the tube down through the top of the tunnel and through the seal, then loosely cable tied the hose to the wiring loom, then tucked it in behind the passenger foot well ready for the washer bottle fitment.
 |
| Wiring loom up through tunnel. Heater not plugged in yet as it seems impossible to find the plug without lying upside down in the foot well... |
 |
| Washer bottle in for dry run, has to be put in after the engine fitment as the mounts can't get passed otherwise. |
Horn
As we have the dry sump system as standard in our car the normal horn mounts are not used due to the dry sump tank being in its place. An 8mm hole has to be drilled through the steering rack platform, which we then painted with metal paint. We then realised that it didn't matter whether the paint had dried or not as we didn't have the metal spacer or the right nut and bolt for its fitment anyway.
 |
| Hole off centre in order to not weaken the mounting. |
 |
| Hammerite Metal paint. |
Rust Protection
After reviewing some of the images we took during our visit to the Caterham showroom, we noticed that one of the cars had a few rusty parts in the engine bay. We decided to remove the throttle cable mount and give it a lick of paint.
 |
| Rusted parts on a second hand Caterham. |
Gearbox Attachment
Naturally reading the instructions on how to attach which gearbox to which engine, to remove or not to remove bell housing, to plug or not to plug...
In the end we asked Derek who confirmed that on the DURATEC, with a 6 SPEED GEARBOX, the bell housing is left on and the gearbox is bolted to the bell housing. This was done with no gasket (not supplied and not required) and no silicon was used.
We then plugged the LH speedo hole sealing with silicone sealant, and then sealed the Rh speedo output hole at the base of the box with the plug supplied and using gasket sealant. The gearbox was then relatively easy to bolt on, apart from until we got the the torquing up, which was near impossible due to the clearance around the bold heads not allowing the socket and torque wrench near it.
 |
| How the hell is this going to fit!?!?!?!?!? |
Engine Mounts
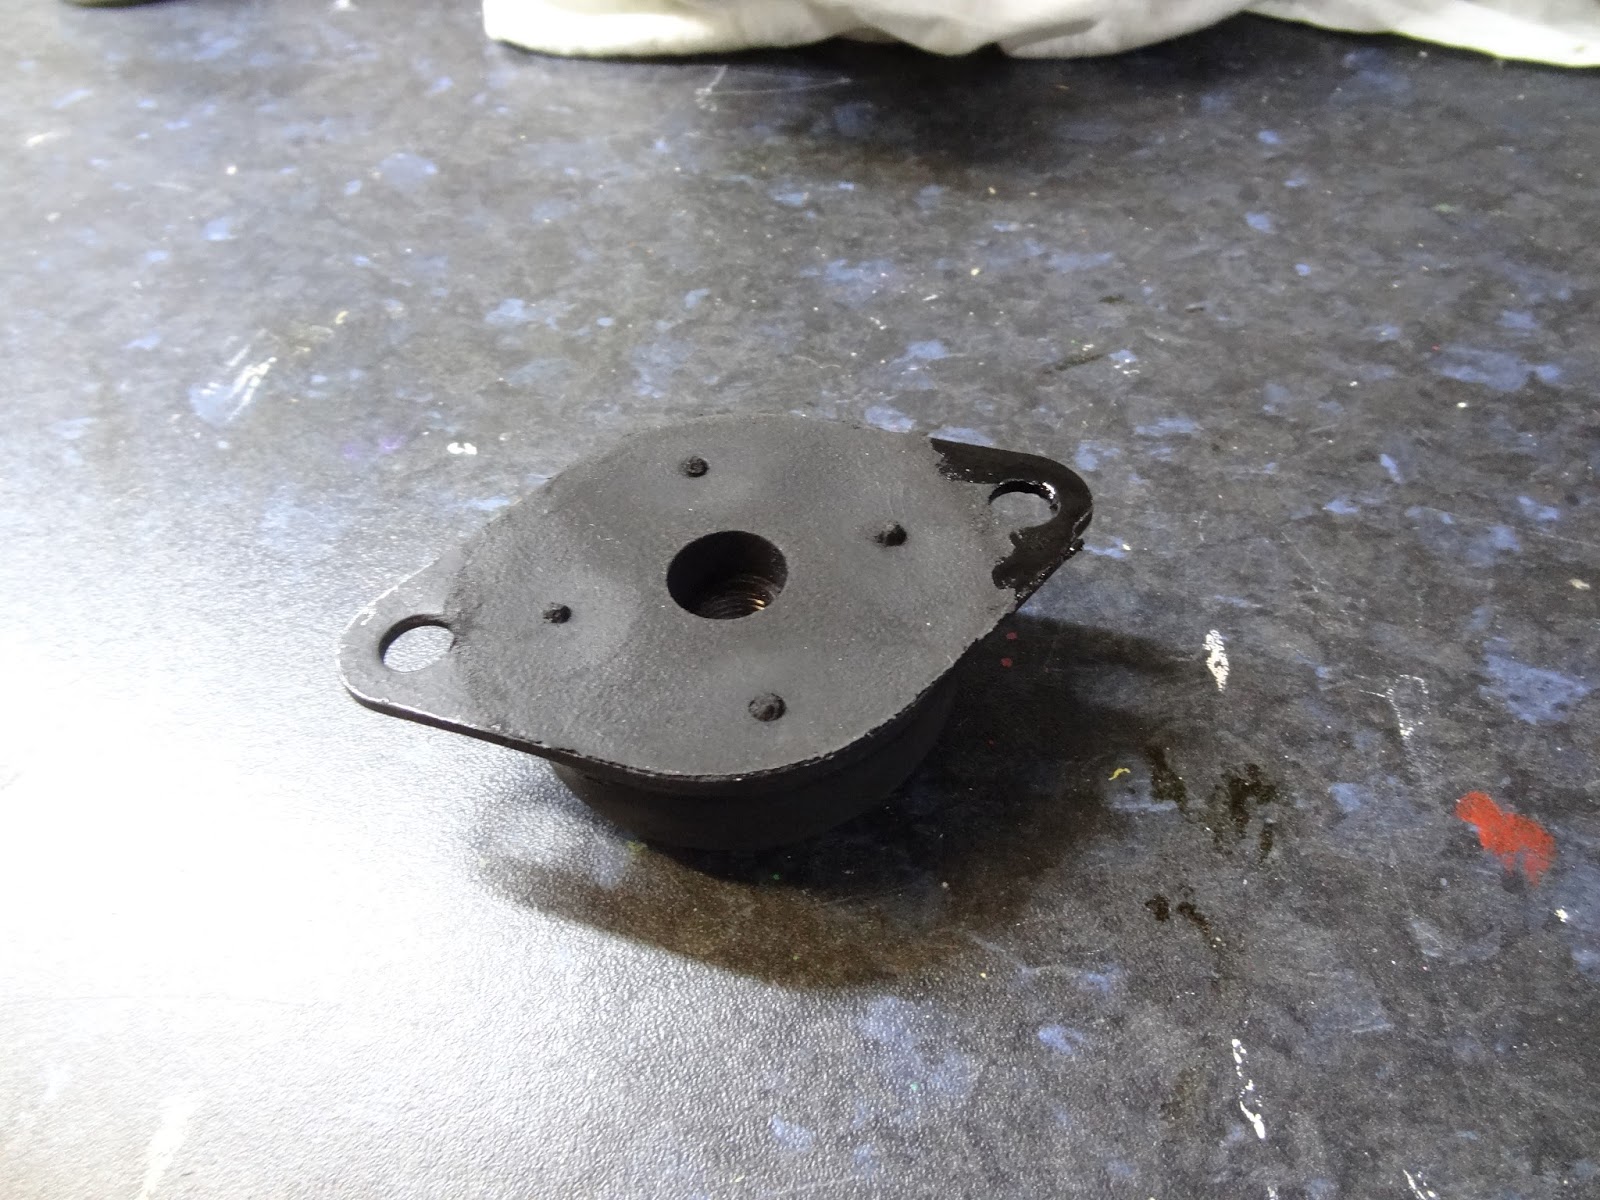
We decided to finish the night with rubber feet which the engine sits on. First we had to clean up one of the ends around the forward hole, top and bottom, then on the frame. This was in order to allow a sufficient earth connection for the engine. Then on the RH rubber mount we had to file down the trailing outside edge as it was fouling on the chassis tubing welds, it was then painted and allowed to dry for fitment next time. As instructed the mounts were loose fitted in order to allow for engine alignment later.
 |
| LH mount with 300mm Earth cable. |
 |
| Finely tuned RH mount. |