Tuesday 29 December 2015

Build Day 33- RHR Wing Protector

Day 33- RHR Wing Protector  


Right Hand Rear Wing Protector 


We first realised that it would be easier to slacken the wing bolts and remove the trim and watts link arms, in order to get the correct alignment, not drill into the arm, and then to be able to run the wing trim over the protector. We then continued by cutting the trim to length, cutting slits into the trim then taping it to the back of the protector. Then this was offered up to the wing with the bottom edge and the top and bottom inside edges against the inside edge of the wing. 

Then the holes were marked with a pencil through the holes, which had been pre-drilled and holes drilled through the trim. Then holes were drilled into the wing, initially with a 2mm then a 4mm drill. Finally the protector was aligned with the original holes and then it was riveted into place.

To finish the wing and watts link arms were reattached, making sure the trim smoothly ran along the inside of the wing and over the wing protector.


Cutting the trim to length requires plenty of cuts in order to get round the tight corners.

Tape marks the place were the holes are to be drilled, then the holes through the carbon fibre when it is in place.

Holes drilled at right angles to the body in order to retain tension when riveting.

All holes drilled, a little bit of fibreglass has however forced paint to bubble, good thing they'll be covered.

Watts link un-bolted front and back in order to slacken the wing, meaning that the drill does not damage the paint to the side of the wing.

Protector on. The sliver of orange down the inside of the wing is caused my the mismatched shapes of the wing and carbon fibre. This disappears as soon as the wing is tightened again.


Friday 18 December 2015

Build Day 32- Paint Protection Film

Day 32- Paint Protection Film  


Fitting the film


The guys arrived around 11am and we versed them on what we wanted doing, which was to cover as much of the car as possible. They said it would be fine, but the parts which would remain uncovered would be:


  • Curved and vertical edges of the rear wings as the film kinks and bubbles making for a terrible finish.
  • Scuttle.
  • Louvres.
  • Sides around the wishbones.
  • The black stripe along the bonnet. We decided for this as the stripe has been painted over the orange paint meaning that it is raised off of the surface, and as it happens this was roughly the same amount as the film, so we have agreed to have the bonnet film up to the stripe to reduce the stripe. 
After this in order to make life easier for them and to attain a better finish we remove the bonnet catches and the fuel filler cap so the film would be on behind.

So what would be covered:
  • The full nose cone.
  • Full sides, between the rear wings and the rear edge of the wishbones.
  • Rear wings, front to back.
  • Full rear, bottom to just under the popper bases.
  • All of the orange parts of the bonnet except a rectangle cut out for the two sets of louvres either side.
Nose cone covering.

Sides.

Rear of the car.

Cutting done on the car.

Film below poppers and under aero filler cap.

Film edge surrounding the louvre groups are barely visible.

Even in this one.

Car complete, looks shinier than before.

Overall they did a fantastic job and we are very pleased with their work. Then it came to receiving the bill, which we received over the phone by one of the office guys, which ended up being more than the quoted price. However we were expecting as much so weren't surprised, especially as they had never covered an entire Caterham before.


Material Cost: £300
Labour Cost: £250
All excluding VAT: +£110
Grand Total: £660 (-£60 as they felt bad that it cost double the quote)


Monday 14 December 2015

Built Day 31- Paint Protection Film Prep

Day 31- Paint Protection Film Prep 


Putting the Car on the Floor

We have arranged for guys from Signs And Graphics UK Ltd (see link on the RHS of the page) to come round on Saturday 18th December to fit Paint Protection Film to the car. They are currently the guys who fit PPF to cars for Caterham themselves, which is where they will be the day before coming to us, so will have had plenty of practice. They have quoted the total cost being around £350 for the whole car, having had experience with them in the past, however they have never done a full wrap on one so we are unsure as to whether this is going to be very accurate. 

To get the car ready for the guys we are going to lower the car, roll it onto the drive and give it a clean. However before we could start the trolley jack wouldn't lift any weight put on it, only raise up and down on its own. After a bit of tinkering we decided to remove the filler plug only to find that it wasn't particularly full. After a quick top-up it was working fine, so once the wheels were all on we lowered the car to the floor.


Rear Jacking Point. We found that if lowering the front first, from this height, that the oil cooling hoses foul on the jack. 

First time on the floor!!!


As close to complete as we've had so far.

We didn't know if they want the catches off or not so we've left them on. We also removed the IVA trim from around the exhaust port to allow them to put the film right up to all the edges. As it's a bit late and we don't want it to get dusty again between now and then we will wash it the night before.


Friday 11 December 2015

Build Day 30- Floor Mats, Seats, Breather and Expansion Bottles

Day 30- Floor Mats, Seats, Breather and Expansion Bottles 


Floor Mats

We put the mats it then aligned them with the tunnel, so the rear corner was butted up in the right rear corner of the floor pan. We then marked the three points at which the poppers would be positioned, removed the mats then used a belt hole punch to remove some material.  After attaching the popper head to the mat we drilled and riveted the popper bases to the floor pan.

underside of the popper.

Mat in place. as they do overlap we decided to have it only overlap on one side and this just happened to end up being the outside.

Floor Mats

Started by cutting the plastic off of the bottom of the bag protecting the seat, so as not to damage or cover it in grease. By sliding the rails back we could access the holes for the rear bolts. After each of the seats were in the seats were slid backwards allowing access to the forward holes. Then the bolts can be tightened, with one of us holding the Allen key in the top and the other tightening from under the car.

Rails slip forward. On the LH seat we applied some grease the rails were stiff and didn't slide very easily.

We cleaned the floor before putting the seats in.


Access to the forward bolts aren't easy to get to, even with an Allen key.

Interior starting to look great.

After the seats were in we decided to cut down the seat bolts as they do extend a little far. This was more prevalent a job because we had already experienced that when driving the car these bolts can ground out. This happened while I was driving the rental Caterham we had out in the flatter parts of central Cambridgeshire, drove over a bit of a bump, causing the seat bolts to out four, 2ft long gouges into the road. (However in the post build inspection they have quoted to have take 1/2 an hour removing and changing the bolts for the seats. When we asked they told us tha "Cutting down the bolts is an IVA failure"... can' think how it is a failure but it sounds like one of the guys at their local test centre (Gillingham) is an absolute nightmare for failing a car for any tiny detail.)

Breather and Expansion Bottle

We finished the night by attaching the cooling system expansion bottle and fitting the dry sump breather bottle. For the expansion bottle the support arm is bolted to the bracket then the bottle is bolted to the support. Then the hoses are pushed on and jubilee clips tightened over the end. 

Expansion Bottle.
For the breather bottle we only had two short off cuts for the right size gauge hose, which we had to join together with a plastic hose connector which we found in the coolant parts bag. The end into the bottle was wrapped in self amalgamating tape and pushed into the hole left when the small rubber hose and cap is removed. We then cut the small thin hose off from the rubber cap we removed from the top of the breather bottle. This was then forced into a small hole we had drilled into the corner of the breather bottle. The other end of the hose was then routed through the car so if it did over fill and oil were to escape it wouldn't cover the engine bay in oil, only escape onto the road. We have seen a lot of cars with 90 degree rubber hose connectors going in and out of the bottle, but we weren't given any and we couldn't find anything correct online. 

Breather Bottle.

Thursday 10 December 2015

Build Day 29- Airbox

Day 29- Airbox


Airbox

Started with measuring the intake trim to length, then cutting it using a hacksaw. I then heated the trim in some boiling water in order to make it more malleable, then fitted it to the box. It was hard getting the trim over the edge especially over the tight radius, and where the joins are between the two sides of the plastic. After this it was fairly straightforward fitting the box, despite there being zero word about the box in the first place.

Warming the trim.


Eventually on, takes quite a lot of force.

Then Bobbins in place.

Then attach the box to the bobbins.

To be honest this doesn't look right, but not really any other way this can go on...
The other end has a large jubilee clip clamping the other end to the plenum.

All in place with the filter in place and the long bolts tightened into the rivnuts.

Speed Sensor

To finish I tidied the speed sensor cable behind the rear bulkhead.

Just a couple cable ties to stop it moving. No idea what the other connection is for.


Sunday 6 December 2015

Build Day 28- Tunnel Top, Gear Knob and Cycle Wings.

Day 28- Tunnel Top, Gear Knob and Cycle Wings.


Tunnel Top


This goes in fairly easily, just push the front end in, raise the handbrake handle and feed the handle through the hole. This is much easier when the other end of the handbrake cable is not attached.

Slides on nicely.


The new R themed gear knob and gauges look pretty good. Also the key-less ignition style tunnel top seems much more practical than the standard one, especially when twinned with the Soft Bits Tunnel Bag made for this type of top.

Cycle Wings

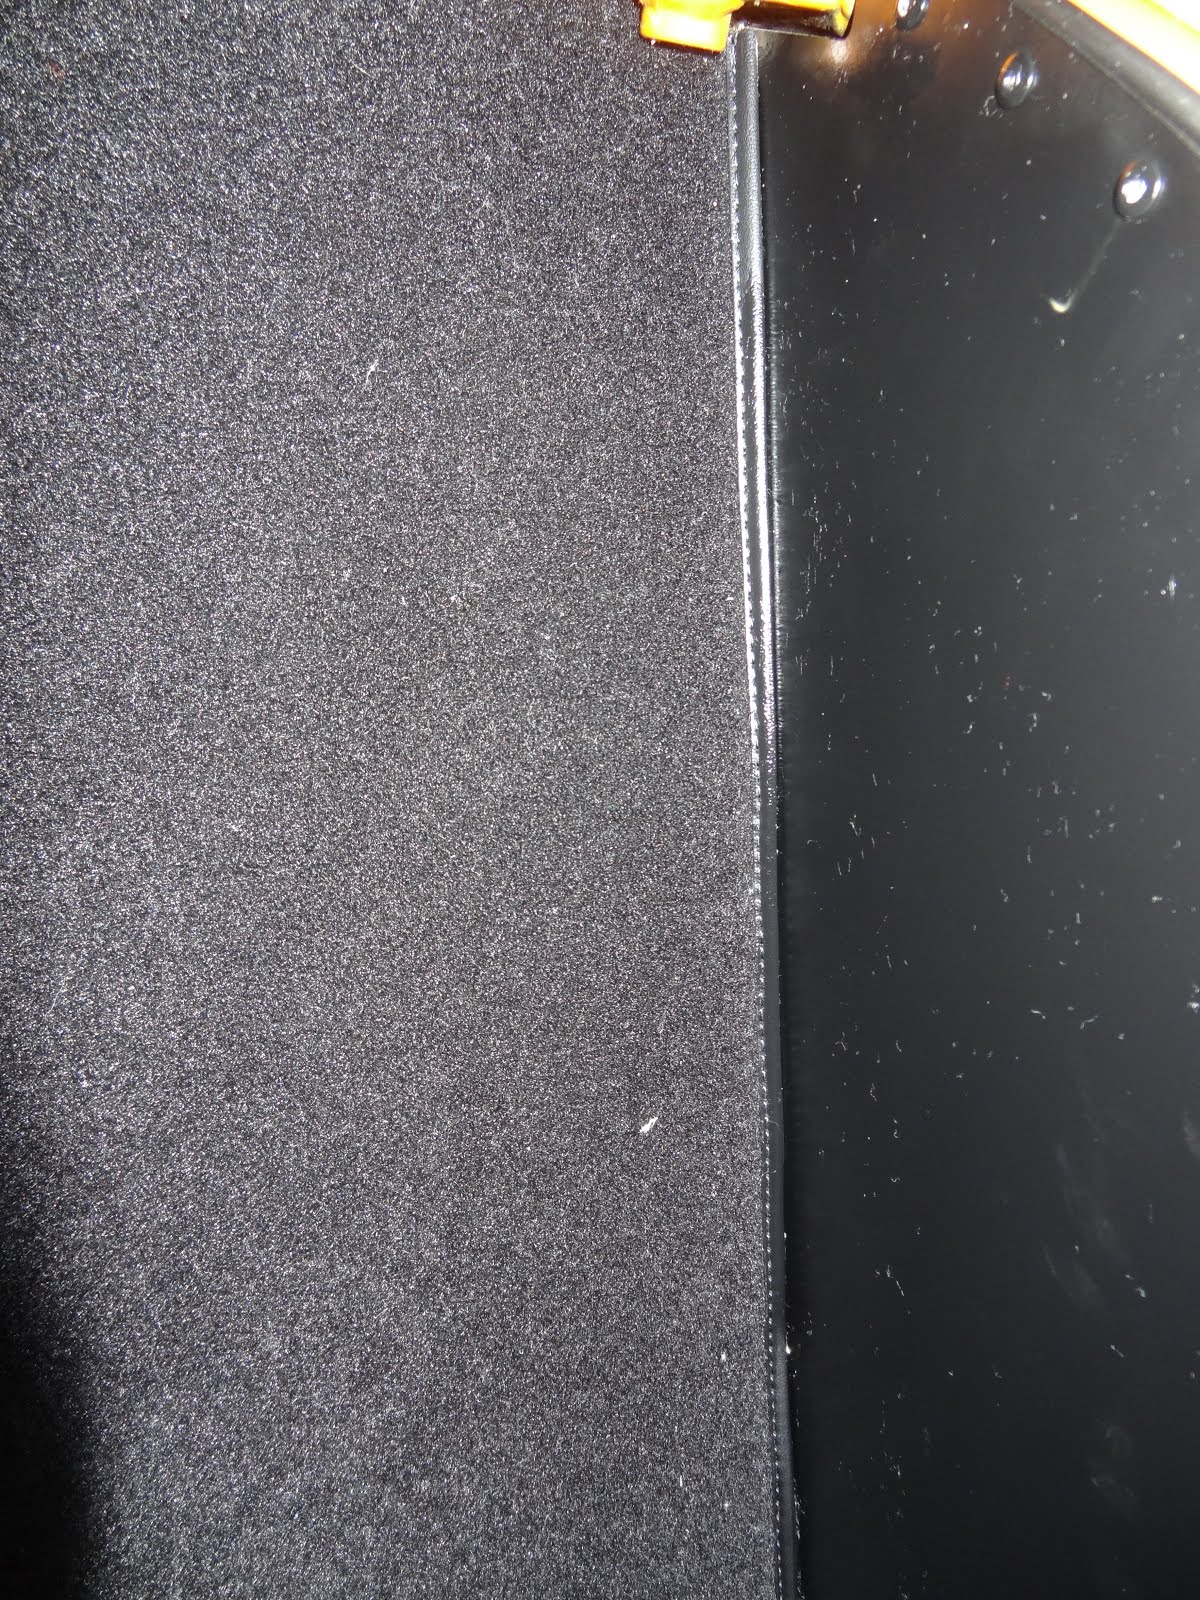
At this point I had to go so my dad continued without me. The process was started by first preparing the surfaces for the adhesive, by using sandpaper to roughen (increasing the surface area) the underside of the carbon wings, then using acetone (originally bought as the solvent for the impact adhesive) to remove the paint from the wing stays.

Removing paint with 99.5% Acetone.

With the wheels on the alignment was found and the position was marked in relation to the chassis. Then the wheel was removed and the adhesive applied (Sikaflex 221). Initially a small amount was used just to make the bond, then more was used to stop the accumulation of grit, sure up the bond and slightly make it more aerodynamic.


Instead of earthing the repeater to the wing stay dad extended the black lead, wrapped both in heat shrink then passed them through the wing stay.

RH wing, kinda sucks that the wings are pre drilled and that the repeaters are required by IVA, otherwise we wouldn't have bothered.

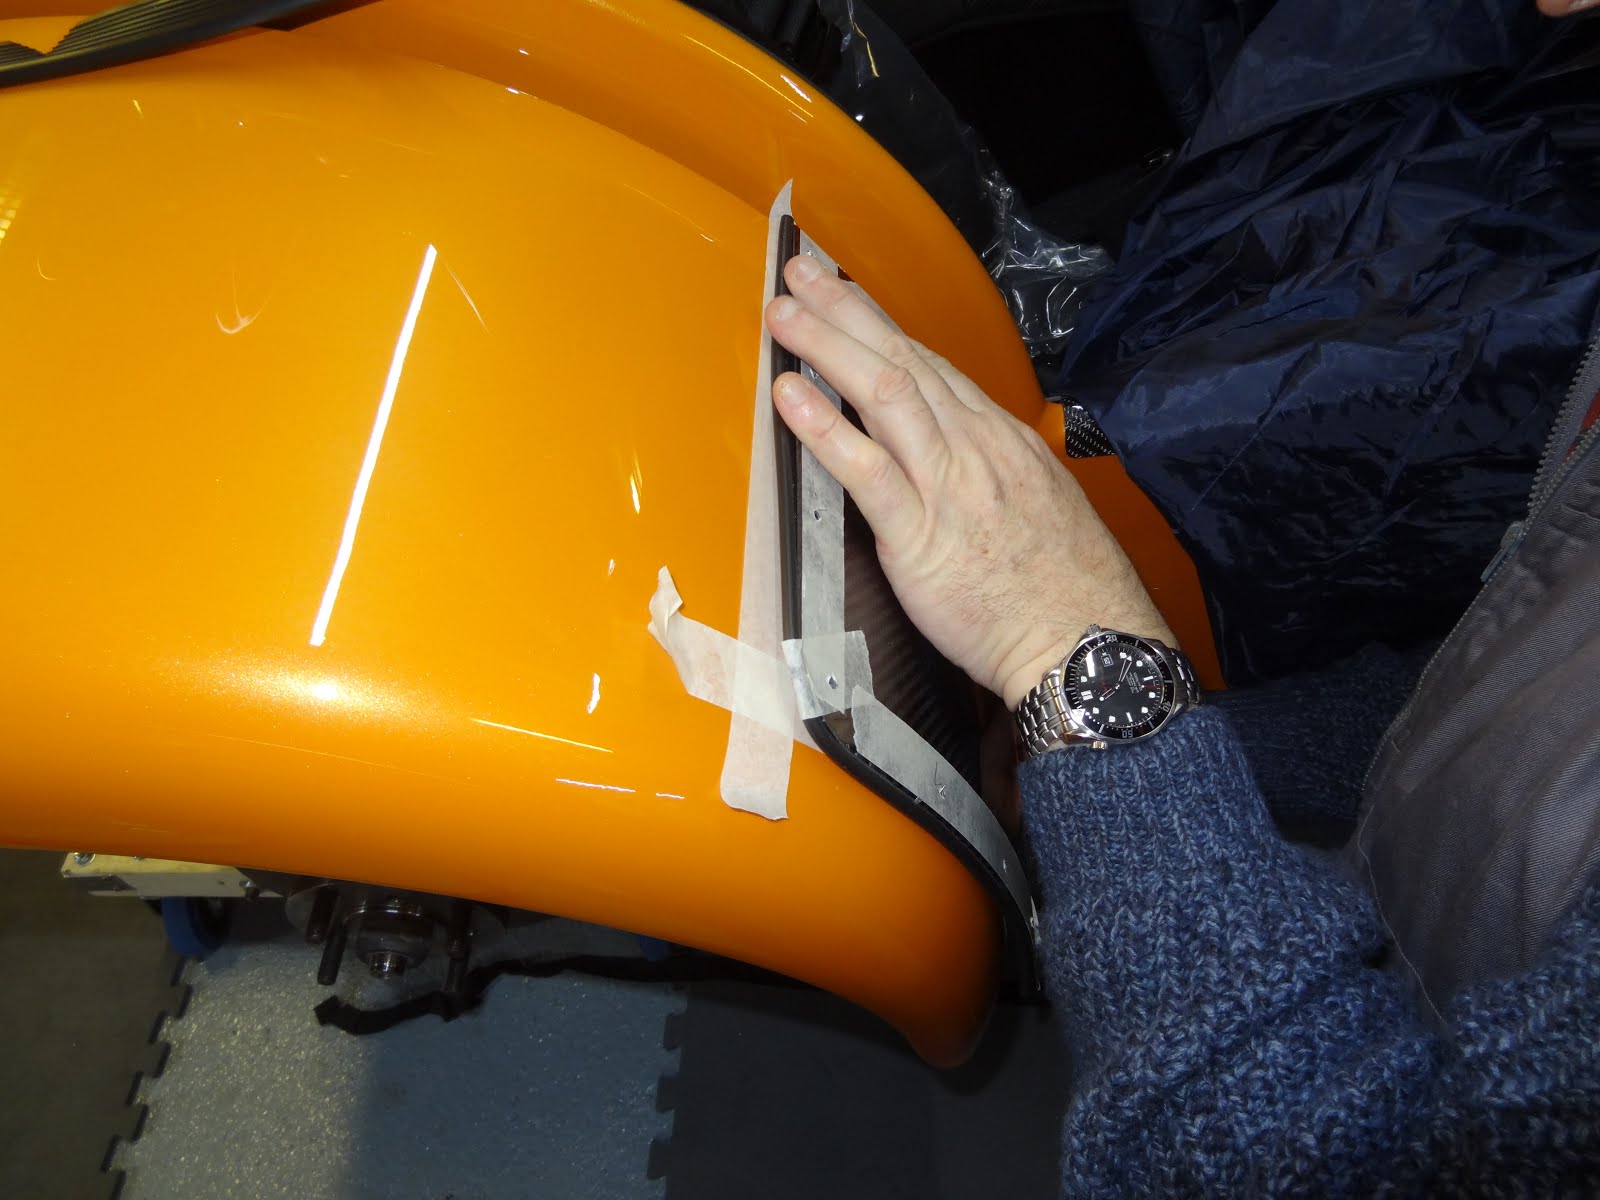
LH wing, held in place to let it dry. The wings are a little low, meaning that the top edge of the tyre has to be angled in under the wing first, then the bolts located.

As well as the cycle wings Dad attached the brackets, for the coolant bottle, and for the oil breather bottle, using the Sikaflex, meaning that we don't have to drill through any of the chassis tubes, thus possibly introducing moisture inside the tube. For the breather bottle he drilled out one of the rivets already there then riveted one bracket hole and finished with the adhesive.


We had agreed on this method of fixing the cycle wings on as Dad had previously done this on his Superlight, plus the adhesives these days are much stronger than they were in the late 90's, we don't believe even Caterham screw them on any more either, and we also agreed that the method of screwing the wings on doesn't look good at all.

Us so far. (as of 6th December, not the end of Jan which it is now, just not had time to write this thing).

Saturday 5 December 2015

Build Day 27- Sill Protectors, Fusebox Cover, Interior Carpets, and Harnesses.

Day 27- Sill Protectors, Fusebox Cover, Interior Carpets, and Harnesses.


To start we continued to finish fitting the sill protectors, but, in addition to the steps previously taken we applied some silicone sealant under the sill to stop squeaking when any force is applied causing movement. (We have however, a few weeks later, that the RH sill has settled and has stopped making a sound whenever pressure is applied, which would have driven us insane every time we got into the car.)  


Fusebox Cover


This took a lot longer than expected due to it being oddly confusing as to how the panel fits in relation to the fuse box. However eventually after a small strip of Velcro and a couple strips of IVA trim to stop vibration noise it was eventually in.


Small strip of Velcro along front edge. I believe this is an IVA requirement (according to the build manual). 


Small length glued in place.


Tidied the 12V Socket wiring, the smaller plug is not used.


Interior Carpets


This got a little messy as the spray adhesive is hard to control. After warming the can in-front of the fan heater we started with the rear bulkhead carpet, then the tunnel carpet, then fitted a couple of the boot carpet pieces, (namely the forward triangle pieces, and the rear rectangle piece). We found that excess came off fairly easily with a little WD-40 on a rag, and that the solvent designed for the adhesive worked a tad too well and started removing paint.


A bit of a stringy mess. 

It was at the point of completion that we realised that the bulkhead carpet only had trim on the LHS and not the other, so we will email Caterham to see what the best remedy is to the situation. (In the end they decided that they would remove the carpet and glue at the post build inspection and then replace it with the correct one.) 


After the carpets were in we cut the Harness bolt holes into the vinyl strip along the chassis tube under the roll-over bar.


A small Stanley knife worked a treat.

We decided that if we ever needed to remove or replace the rear wings it would be much simpler if we attached the corner carpets with Velcro instead of with the impact adhesive.


Harnesses 


This was done for aesthetic reasons more than anything as we knew we would have to remove then later anyway for the boot cover fitment. We quickly found that the bolts were too long to screw in under the roll-over bar due to lack of clearance, and even using the either set of bolts, as there to two varying length of bolt in the Luke boxes. In order to fit them we had to cut roughly 10mm of the end of the bolt for it to fit. 

Later turned out that Caterham suggest fitting the harnesses before the roll-over bar, and thus technically before the rear suspension, and along with the boot cover and interior trim. 

Also now we have done the post build inspection (22-01-2016) it turns out that they didn't agree with our arrangement as they have spent a 1/2 hour changing the bolts!?!?!

We felt that the fitment of the harnesses would be better if we substituted the cardboard washers with rubber ones as we feel that the card ones would degrade quickly in wet weather. Also we don't see much point in the metal rings, that we can only presume are for inserting into the boot cover, but would be crushed under the bolt head. Also in order to reduce the amount the vinyl strip creases under the rotation of the bolt we applied silicone grease around the hole. 


Just remember the red buckles attach to the tunnel and the handle points downwards. 


We'll have to see what Caterham thinks of the way we have done this...