Day 33- RHR Wing Protector
Right Hand Rear Wing Protector
We first realised that it would be easier to slacken the wing bolts and remove the trim and watts link arms, in order to get the correct alignment, not drill into the arm, and then to be able to run the wing trim over the protector. We then continued by cutting the trim to length, cutting slits into the trim then taping it to the back of the protector. Then this was offered up to the wing with the bottom edge and the top and bottom inside edges against the inside edge of the wing.
Then the holes were marked with a pencil through the holes, which had been pre-drilled and holes drilled through the trim. Then holes were drilled into the wing, initially with a 2mm then a 4mm drill. Finally the protector was aligned with the original holes and then it was riveted into place.
To finish the wing and watts link arms were reattached, making sure the trim smoothly ran along the inside of the wing and over the wing protector.
 |
| Cutting the trim to length requires plenty of cuts in order to get round the tight corners. |
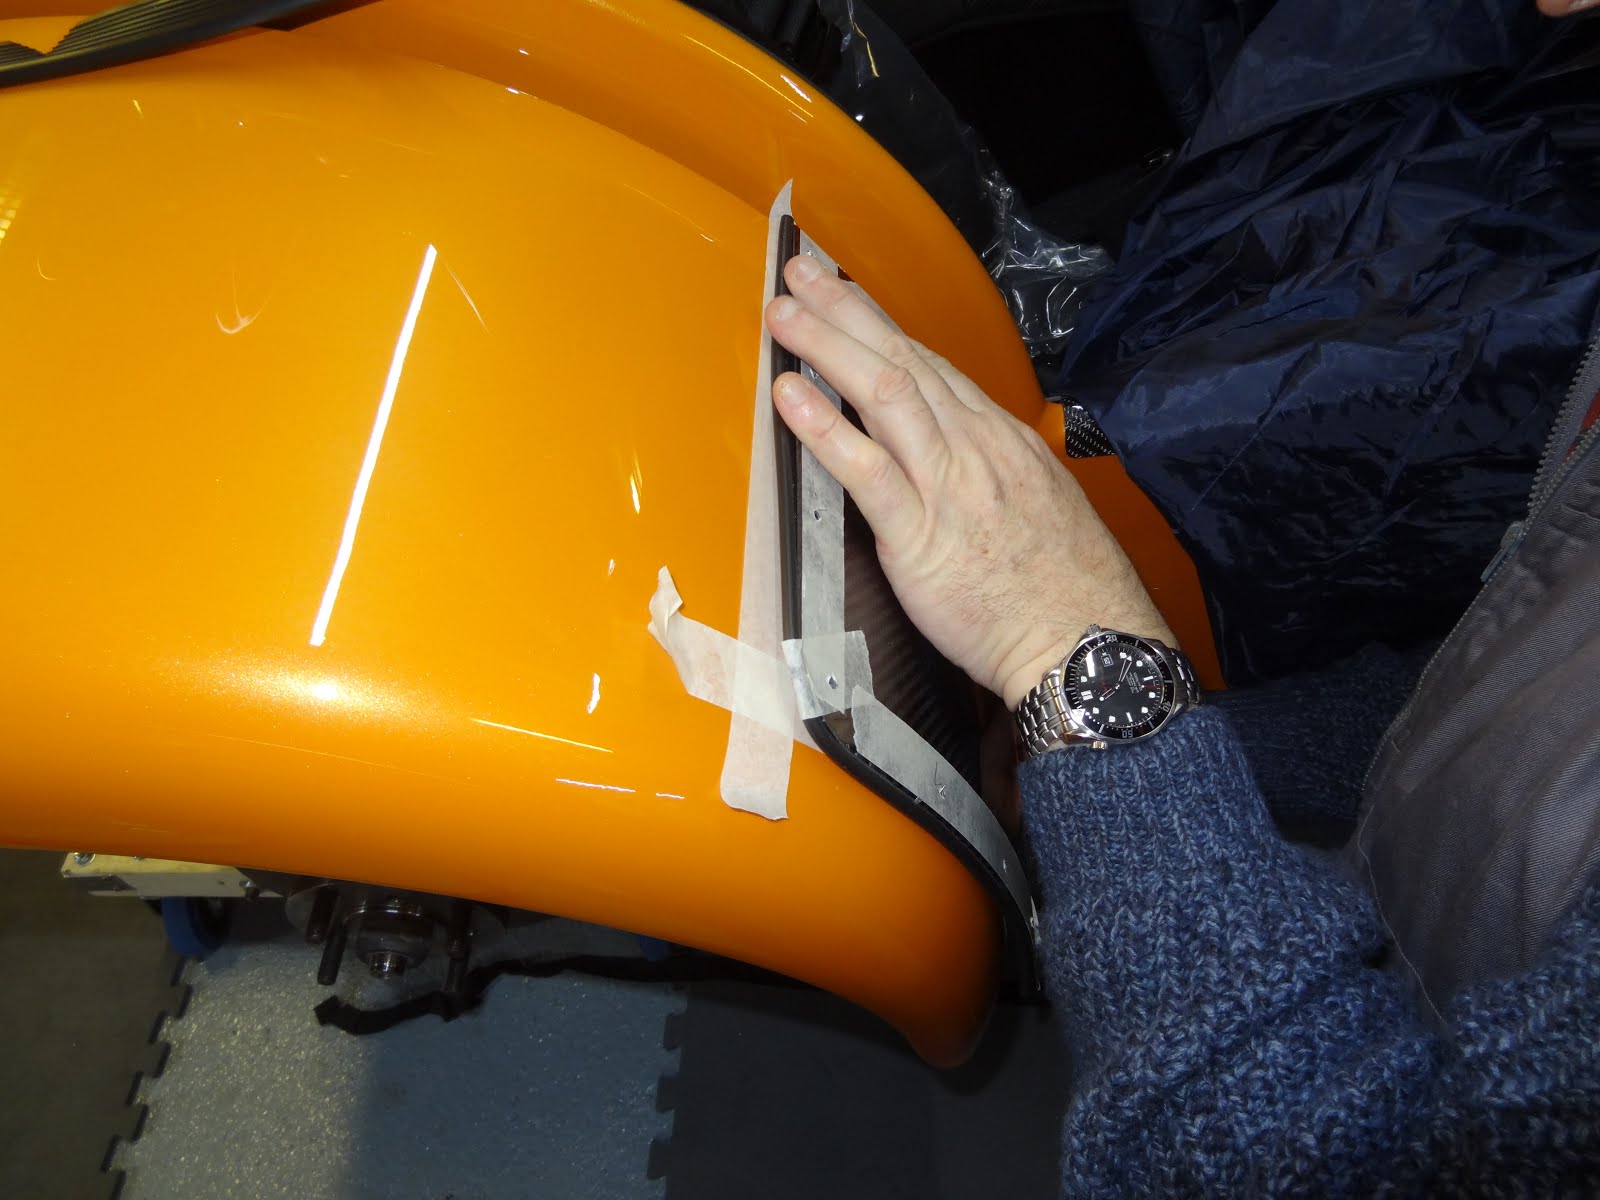 |
| Tape marks the place were the holes are to be drilled, then the holes through the carbon fibre when it is in place. |
 |
| Holes drilled at right angles to the body in order to retain tension when riveting. |
 |
| All holes drilled, a little bit of fibreglass has however forced paint to bubble, good thing they'll be covered. |
 |
| Watts link un-bolted front and back in order to slacken the wing, meaning that the drill does not damage the paint to the side of the wing. |
 |
| Protector on. The sliver of orange down the inside of the wing is caused my the mismatched shapes of the wing and carbon fibre. This disappears as soon as the wing is tightened again. |
No comments:
Post a Comment