Day 19- Droplinks, Heater Hoses, Engine Electrics, and Oil Cooler.
This time of year it is starting to get very cold in the garage. Working with tools at 5 degrees is getting tough, so we bought a fan heater to try and make working on the car more bearable.
 |
| SO MUCH BETTER!!!! |
Droplinks
No we knew that the droplinks aren't put in how they're instructed to, we could now put them in. The instructions say to find the links in as far as they go down, but with the threaded ends in the same direections... but what it should say is, "threaded ends in opposing directions". Then ignore the part about the extension pieces and just bolt each end through the bracket and the ARB. The further up the towards the rubber bobbin the less roll with be experienced.
Engine Electrics
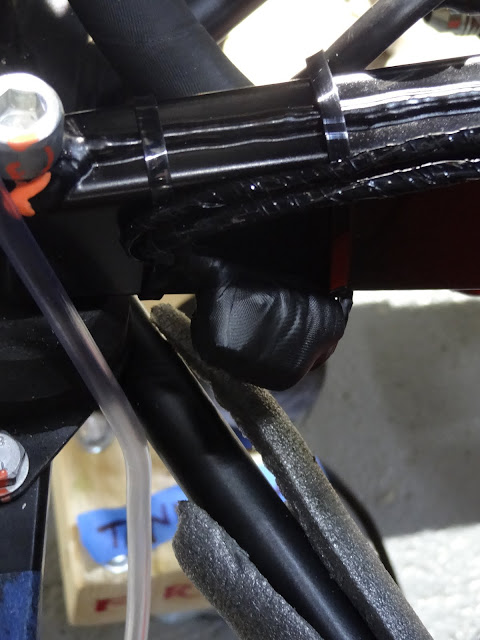
Now we've done more research we know think we have sorted the wiring issue. Still however dad was the one under the car so either he can elaborate or the pictures will have to do.
 |
| The four connections from the previous post, unused, so they were just taped together with self amalgamating tape and cable tied to the engine mount. |
Oil Cooler
Started by assembling the brackets to the cooler unit. We used our own nuts and bolts as we couldn't find any suitable enough, so a bolt, locnut and two washers either side of the bracket, for each hole.
 |
| Assembled off the car then used to mark up the right holes to be drilled in the cowling and radiator brackets. |
 |
| We made sure all of the aluminium was pushed in-line with the other parts as the cowling is very thin and the edges are all over then place. |
Once we were happy with the hole placement we drilled the 8mm through the aluminium, then bolted the oil cooler to the cowling. The top hole uses an M8 bolt and the bottom hole goes onto the bottom radiator bobbins.
 |
| The fitted cooler. |


No comments:
Post a Comment